
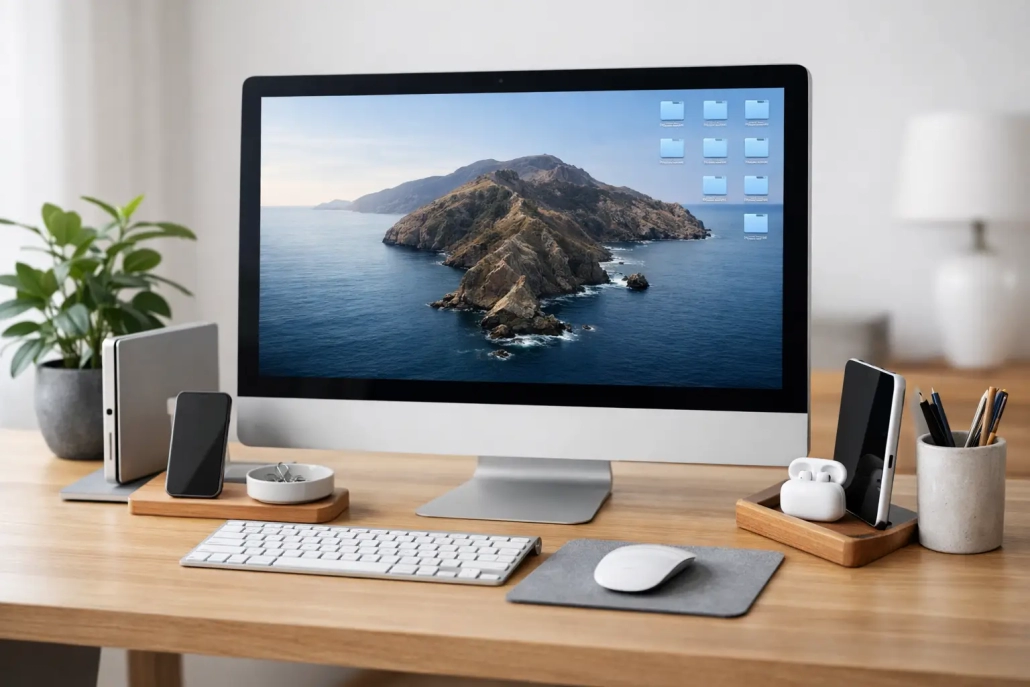
How to Organize Mac Desktop Without the Clutter
A crowded Mac desktop creates small points of friction all day long. You save a file, cannot spot it among screenshots and downloads, then open Finder and start searching. Learning how to organize Mac desktop files is less about making your screen look perfect and more about giving every active item a clear, temporary home.
The most effective desktop is not necessarily empty. It shows only what you are working with now, while everything else is stored in a Finder location where you can find it again. With a few built-in macOS tools and a simple routine, your desktop can become easier to scan, easier to clean up, and far less distracting.
Start With a Purpose for Your Desktop
Before moving files, decide what your desktop is for. For most Mac users, it works best as an active workspace, not a permanent filing cabinet. A presentation you are finishing this week, a folder for a current project, or a document you need several times today can belong there. Tax forms from two years ago and random image downloads usually do not.
This distinction matters because organizing too aggressively can create a different problem: files become so carefully buried that they are difficult to retrieve. Your goal is not to hide everything. It is to keep current work visible and completed work stored logically.
A useful rule is to ask one question whenever you save something: Will I need to open this again in the next few days? If yes, the desktop may be appropriate. If not, save it directly to Documents, a project folder, Photos, or another location that matches the file.
How to Organize Mac Desktop Files in One Pass
Set aside a few minutes to organize what is already there. Start by clicking an empty area of the desktop, then choose View from the menu bar. Select Use Stacks. macOS will immediately group similar items, such as screenshots, PDFs, images, and documents, into tidy stacks.
Stacks are especially helpful when your desktop contains many individual files but you are not ready to decide where every one belongs. Click a stack to expand it, review its contents, and click again to collapse it. This gives you a cleaner view without forcing a major cleanup session.
Next, create one folder on the desktop called something clear, such as “To File” or “Desktop Inbox.” Move any item that does not require an immediate decision into that folder. This is not a final destination. It is a holding area that keeps your screen usable while giving you time to sort files properly.
Then deal with the obvious items. Delete duplicates, installers you no longer need, and outdated screenshots. Move finished documents into the appropriate Finder folder. If you have several related files, place them in a project folder rather than leaving them as separate desktop icons.
Avoid creating a long list of vague folders such as “Misc,” “Important,” or “New Folder.” Those names postpone the decision rather than making it. A folder name should tell you what is inside without opening it: “2026 Home Insurance,” “Family Reunion Photos,” or “Client Proposal – June.”
Use Finder Folders for Long-Term Storage
Your desktop works alongside Finder, not instead of it. Finder gives you the structure needed to store files after they are no longer active.
For many people, a simple folder setup is enough. Documents can hold personal and work files, while Pictures and Movies can hold media. Within Documents, create folders for the areas of life or work you return to regularly, such as Home, Finances, Travel, Work, and Learning.
Do not feel obligated to use the same structure as someone else. A freelancer may organize by client, while a family might organize by year or household category. The best system reflects how you naturally look for information. If you think, “That was for the kitchen remodel,” organize around the project. If you think, “I made that last spring,” a year-based system may work better.
Finder tags can add another layer without requiring duplicate folders. For example, tag files as Urgent, Waiting, Reference, or Personal. Tags work well for files that belong in one folder but need to be viewed in a different context. Use only a few tags you will actually recognize and maintain. Too many colors and labels can become another form of clutter.
Set a Clear Sort Order
A desktop can look chaotic even when it contains only a few files if icons are placed randomly. Click an empty part of the desktop, choose View, then Sort By. You can sort by Name, Kind, Date Added, Date Modified, Date Created, or Tags.
Sort by Name is reliable when your files have consistent names. Date Added is useful when your desktop functions as a short-term inbox because the most recent items are easier to find. Sort by Kind can be helpful when you want documents, folders, images, and PDFs grouped together.
You can also choose Clean Up By from the View menu. This aligns icons into an orderly grid while keeping roughly the same grouping and placement. It is a good choice if you prefer some visual control but do not want macOS to automatically rearrange everything each time you add a file.
The trade-off is simple: automatic sorting is efficient, but it may move files from the locations your eyes have learned. If you rely on visual placement, use Clean Up By occasionally instead of a permanent sort order.
Keep Only Active Project Folders Visible
Folders are better than loose files, but too many folders can still take over a desktop. Limit visible project folders to the work that is active right now. When a project is complete, move its folder into Documents or another long-term location.
For a project with multiple moving parts, create a simple internal structure. You might use folders for source files, drafts, final versions, and reference material. The exact names can change based on the project, but consistency helps. If every project has a “Final” folder, you will spend less time wondering which version is ready to send or print.
File names matter just as much. Instead of saving “Budget Final” and then “Budget Final 2,” include meaningful details such as “2026 Household Budget – July” or “Workshop Slides – Approved.” A date in year-month-day format, such as 2026-07-21, keeps dated files in chronological order when sorted by name.
Reduce Desktop Distractions Beyond Files
Desktop organization is also about what appears behind your open apps. A busy wallpaper can make icons and folders harder to scan. If your desktop is functional rather than decorative, choose a simple wallpaper with enough contrast for text labels.
You can also reduce visual noise by keeping the Dock focused on applications you use often. Remove apps you never open from the Dock, but do not worry about making it minimal for its own sake. The Dock should support your habits, not imitate someone else’s setup.
If open windows are contributing to the problem, use macOS window-management features to bring order to your workspace. Full Screen is useful when you need uninterrupted focus. Split View is helpful when comparing two documents or taking notes from a webpage. Stage Manager can work well for users who want related windows grouped together, though it is worth trying before committing to it. Some people prefer its structure; others find a familiar desktop-and-Dock workflow faster.
Make Cleanup a Small, Repeatable Habit
A desktop organization system only works if it is easy to maintain. Rather than waiting for dozens of files to accumulate, schedule a brief reset at the end of the day or once a week. Open the Desktop folder in Finder, move completed work where it belongs, and empty the To File folder.
A simple routine can include four actions:
- Delete files you no longer need.
- Move completed work into its permanent folder.
- Rename files that will matter later.
- Leave only current projects on the desktop.
If you take many screenshots, review them regularly. Screenshots are useful in the moment but often become unnecessary once you have sent them, used the information, or saved a more permanent version. Consider changing your screenshot workflow so important captures are moved into a relevant project folder immediately.
For recurring digital tasks, a little structure saves more time than a dramatic one-time overhaul. TheMacU approach to learning Apple devices centers on clear, repeatable actions because confidence grows when you know exactly what to do next.
Your Mac desktop should make starting work feel easier, not make you search for a place to begin. Keep it focused on what is active, give completed files a dependable home in Finder, and let a short weekly reset protect the calm you created.

