
Mastering the Mac Search Bar: A Comprehensive Guide
The macOS Spotlight Search Guide: Find Anything on Your Mac in Seconds
This macos spotlight search guide covers everything you need to know to search faster and smarter on your Mac:
- Open Spotlight: Press
Command-Space(orF4on newer Macs) - Switch search modes: Use
Command-1(Apps),Command-2(Files),Command-3(Actions),Command-4(Clipboard) - Filter by file type: Type
/PDF,/Images, or usekind:pdf - Search by name only: Use
name:before your search term - Boolean searches: Use uppercase
AND,OR,NOTfor precise results - Preview files: Press
Spaceto open Quick Look without leaving Spotlight - Reveal in Finder: Press
Command-Ron any file result - See past searches: Press the
Up Arrowin the search field
Most Mac users only scratch the surface of what Spotlight can do. They type a word, click a result, and move on. But Spotlight in macOS — especially with the major updates in macOS Tahoe — is far more powerful than a simple search box. It can launch apps, run actions, convert currencies, manage your clipboard history, and find files buried deep in folders you forgot existed.
Whether you are hunting for a PDF from three years ago or trying to send a message without opening the Messages app, Spotlight can handle it — if you know how to use it.
I’m Drew, founder of TheMacU.com and a longtime Apple trainer who has helped thousands of Mac users go from frustrated to confident through step-by-step tutorials — including creating this macos spotlight search guide to help you unlock one of macOS’s most underused tools. Let’s explore everything Spotlight can do…

Getting Started with the macOS Spotlight Search Guide
Before we get into the “pro” moves, we need to ensure you can summon the search bar instantly. Efficiency is the name of the game here, and taking your hands off the keyboard to click a tiny magnifying glass in the menu bar is a rookie mistake.
How to Open Spotlight
There are three primary ways to access Spotlight:
- Keyboard Shortcut: Press
Command + Space bar. This is the gold standard. It’s fast, ergonomic, and works from within any application. - Function Key: On many modern Apple keyboards, the
F4key (often marked with a magnifying glass) is a dedicated Spotlight button. - Menu Bar: Click the magnifying glass icon in the top-right corner of your screen. If you don’t see it, you can add it via System Settings > Desktop & Dock > Menu Bar Only.
Manipulating the Interface
Did you know that the Spotlight window isn’t stuck in the middle of your screen? You can click and drag the Spotlight bar to any position on your desktop. If you find the results window too small, you can even resize it by dragging the edges, allowing you to see more metadata or larger previews. To return it to the center, simply click and hold the icon in the menu bar or the search bar itself until it snaps back.
For a deeper dive into these basics, check out the official Search with Spotlight on Mac documentation.
Navigating Advanced Search Modes and Clipboard History
In the latest versions of macOS, such as macOS Sequoia and Tahoe, Spotlight has evolved from a single list into a multi-modal powerhouse. We no longer have to sift through a mountain of mixed results. Instead, we can jump directly into specific “Browse Modes.”

The Four Pillars of Modern Spotlight
By using specific keyboard combinations, you can tell Spotlight exactly what category of information you are looking for:
- Command-1 (Applications): This replaces the old Launchpad. It’s the fastest way to find and open software. You can even hide iPhone apps that appear on your Mac by clicking the menu button in this mode.
- Command-2 (Files): A dedicated environment for document hunting. It provides specialized filters and views (Grid vs. List) tailored for finding that one specific spreadsheet.
- Command-3 (Actions): This is where you perform tasks like starting a timer, identifying a song, or joining a FaceTime call without ever opening the actual app.
- Command-4 (Clipboard): This is a game-changer. Spotlight now maintains a native clipboard history. It tracks text, images, and even files you’ve copied across your Mac, iPhone, or iPad via Universal Clipboard.
Mastering these modes is the key to Mastering macOS Spotlight – your ultimate guide to efficiency.
Click for a FREE video tutorial on Spotlight in macOS 26 and later!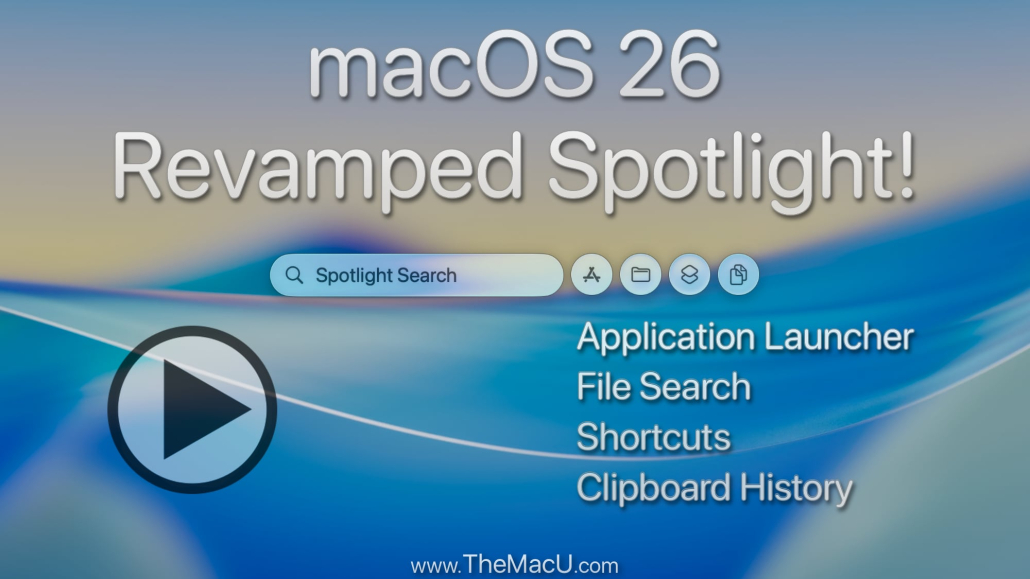
Using the macOS Spotlight Search Guide for Files
When you switch to Files mode (Command-2), you get a much richer experience than the standard search.
- Grid vs. List View: Use the three-dot menu button to toggle between a visual grid (great for photos) or a detailed list (better for documents).
- Quick Look: Select any file with your arrow keys and hit the Spacebar. This opens a full preview of the file. You can even keep the preview open and use the arrow keys to “scroll” through different search results, seeing the contents of each file instantly.
- Reveal in Finder: If you need to know exactly where a file lives, hold the Command key to see the file path at the bottom of the preview. Pressing
Command + RorCommand + Returnwill open the folder containing that file in Finder.
Mastering Spotlight Actions and Quick Keys
Spotlight Actions allow you to run “Shortcuts” and system commands. For example, you can type “Start FaceTime” or “Do Not Disturb” to toggle system settings.
One of the most powerful features introduced recently is Quick Keys. You can assign a specific letter or number to your favorite actions. For instance, you could assign “FT” to the “Start FaceTime Call” action. Next time you open Spotlight, just type “FT” followed by a contact’s name, and you’re calling them in seconds.
To manage these, go to the Actions mode (Command-3) and look for the “Add quick keys” option next to the action name. For more on this, see Take actions and shortcuts in Spotlight on Mac.
Power User Techniques: Operators and Filtering
If you have thousands of files, simply typing “Invoice” isn’t going to cut it. You need to use search operators to cut through the noise. This is where the macos spotlight search guide becomes a true power tool.
Spotlight vs. Finder Search: Which to Use?
While Spotlight is faster for quick launches, Finder search (Option + Command + Space) is better for complex, multi-layered queries.
| Feature | Spotlight | Finder Search |
|---|---|---|
| Speed | Instant | Moderate |
| Modes | Apps, Files, Actions, Clipboard | Metadata & Folders |
| Logic | Boolean (AND, OR, NOT) | Advanced “Smart Folders” |
| Best For | Launching & Quick Finding | Complex filtering & organization |
Boolean Logic and Exact Phrases
To get specific, use these uppercase operators:
- AND:
budget AND 2024(Finds items containing both terms). - OR:
invoice OR receipt(Finds items containing either term). - NOT (or Minus Sign):
contract -draftorcontract NOT draft(Excludes items containing the word “draft”). - Quotes:
"wire transfer instructions"(Finds that exact phrase only).
You can learn more about applying these concepts across your Apple ecosystem in our Spotlight Search Tutorial iOS.
Advanced Filtering in the macOS Spotlight Search Guide
The fastest way to filter is using the “Slash” command. Typing a forward slash / followed by a file type or app name instantly narrows the scope.
- /PDF: Shows only PDF documents.
- /Folders: Shows only folders.
- /Pages: Shows only files created in the Pages app.
You can also use specific metadata tags like:
kind:imagedate:todayorcreated:10/10/2024author:Swansontag:Urgent
For a full list of these keywords, refer to Narrow your search results in Spotlight on Mac.
Customizing Settings and Troubleshooting Indexing
Sometimes Spotlight doesn’t behave. Maybe it’s showing results you want to keep private, or perhaps it’s missing files you know are there.
Customizing Result Categories
Head to System Settings > Spotlight. Here, you can uncheck categories you don’t care about (like “Movies” or “Tips”) to keep your results clean. You can also toggle Siri Suggestions on or off.
Privacy Exclusions
If you have a folder of sensitive medical records or a drive full of backups that clutter your search, use the Search Privacy button in the Spotlight settings. Drag any folder or disk into this list, and Spotlight will stop looking there.
Rebuilding the Index
If Spotlight simply isn’t finding things, the “index” (the map Spotlight uses to find files) might be corrupted. The easiest way to fix this is:
- Go to System Settings > Spotlight > Search Privacy.
- Add your entire Hard Drive (usually “Macintosh HD”) to the list.
- Wait 30 seconds, then remove it from the list.
- macOS will realize it needs to re-index the whole drive. You’ll see a progress bar in the Spotlight window when you try to search.
Detailed instructions can be found at Spotlight settings on Mac.
Frequently Asked Questions about Spotlight
How do I fix Spotlight if it stops finding files?
As mentioned above, the “Privacy Tab trick” is the best first step. If that fails, you can use the Terminal app. Type sudo mdutil -E / and hit Enter. This forces the system to erase and rebuild the index for your main drive. You’ll need to enter your admin password to complete this.
Can I search for text inside images with Spotlight?
Yes! Thanks to Live Text, Spotlight can perform OCR (Optical Character Recognition) on your images. If you have a screenshot of a receipt, you can search for the vendor’s name, and Spotlight will find the image file. This also works for text found in videos and PDFs.
How do I access my previous search history?
We’ve all been there—you found a file, closed it, and now you need it again. Open Spotlight (Command + Space) and immediately press the Up Arrow key. This will cycle through your most recent searches, saving you the trouble of re-typing them.
Conclusion
Spotlight is no longer just a way to find a missing document; it is the central nervous system of your Mac. By mastering the modes, keyboard shortcuts, and search operators we’ve discussed in this macos spotlight search guide, you can save hours of clicking through folders every week.
At TheMacU.com, we believe that technology should work for you, not the other way around. Our structured video tutorials go even deeper into macOS Tahoe and Sequoia features, providing the hands-on guidance you need to become a true Mac power user. Whether you’re a beginner or looking to master advanced automation, we’re here to help you get the most out of your Apple devices. Happy searching!


