We’ve updated our Safari for iOS Tutorial with 15 all-new lessons on how to use the web browser that is built into every iPhone & iPad! Learn to use all the main features of Safari, how to organize bookmarks, utilize tabs, manage profiles and much more!
View more details, and free lessons Here… Read more
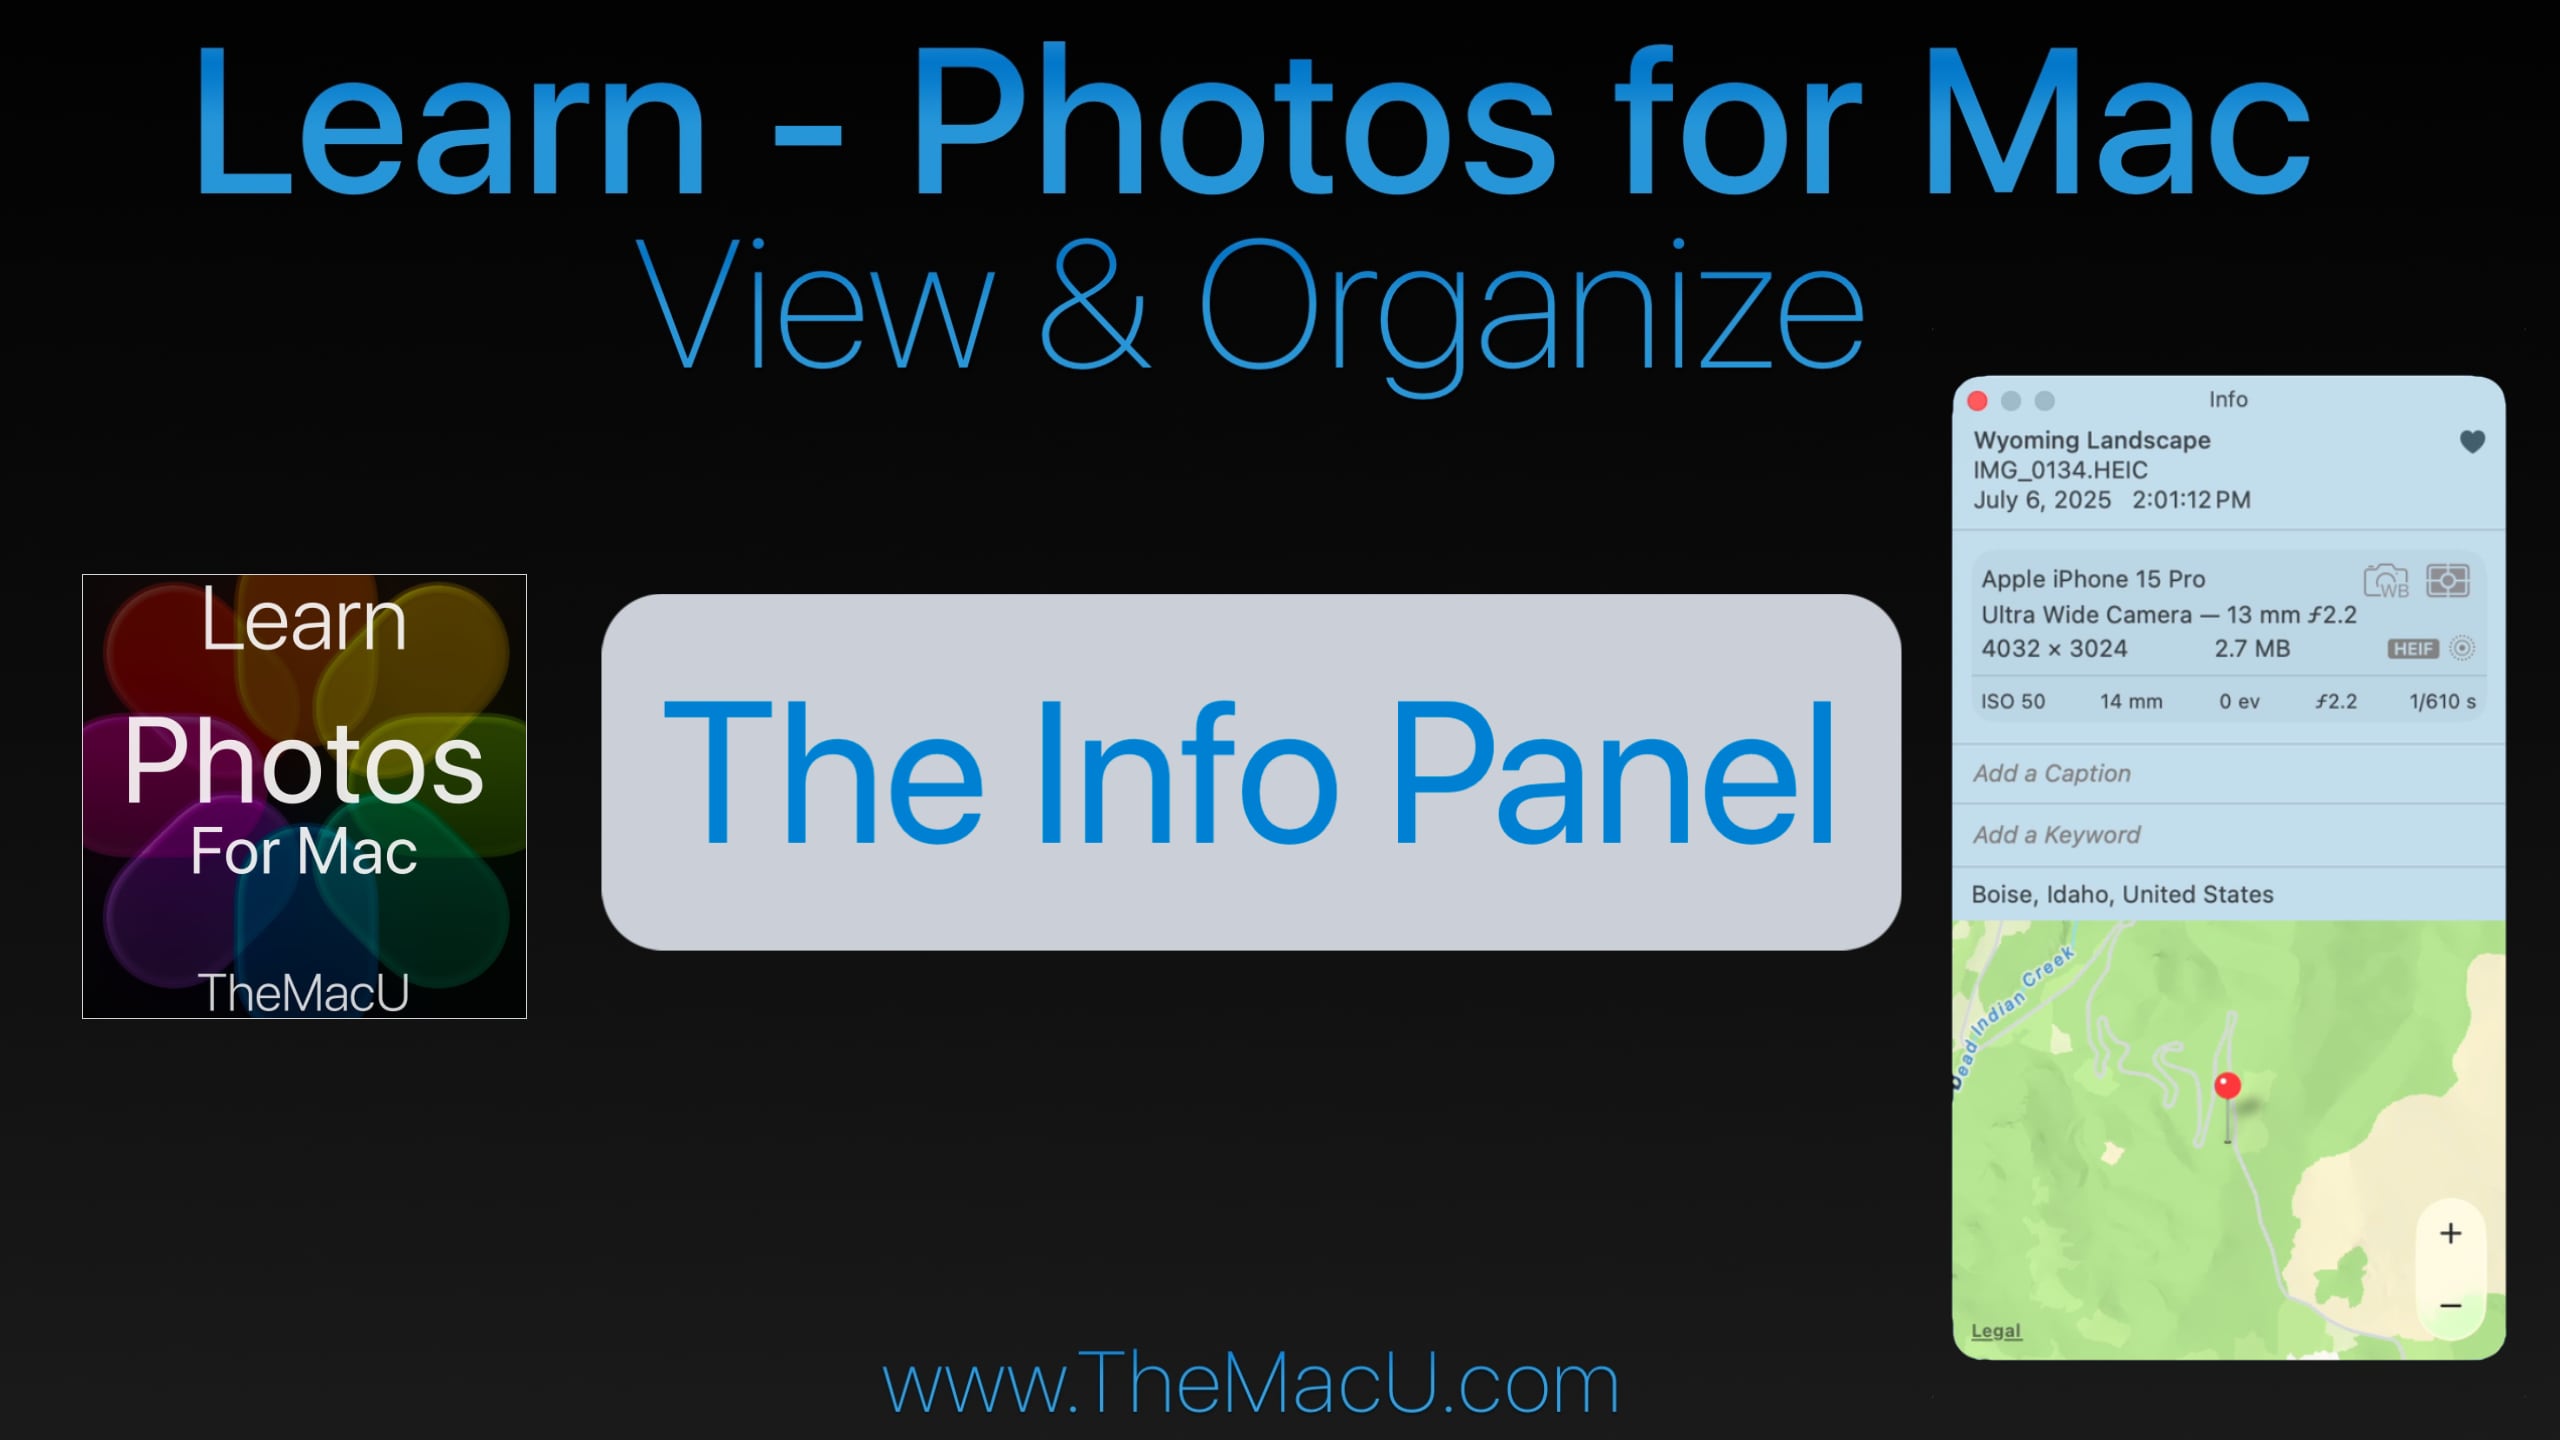
If you’ve ever wanted to dig deeper into your photo library, the Info Panel in Apple Photos for Mac is exactly where you need to start. Whether you’re looking to add custom titles, view technical capture data, or organize your images with keywords, the Info Panel puts everything at your fingertips.
What Is the Info Panel in Apple Photos?
The Info Panel is a built-in feature of the Apple Photos App for Mac that displays key details and metadata for any selected photo or video in your library. It can be opened instantly by clicking the Info button or using the keyboard shortcut Command + I.
What Can You Do With the Info Panel?
The Info Panel is packed with useful features that many Photos users overlook:
- Add Custom Titles — Replace the default filename displayed under your thumbnails with a meaningful, searchable title.
- Favorite Images — Quickly mark your best shots as favorites directly from the panel.
- View Camera & Capture Data — See exactly which camera or iPhone model was used, along with file type, resolution, shutter speed, aperture, and ISO.
- Add Captions — Include detailed notes and descriptions for any photo or video.
- Manage Keywords — Assign keywords to your images to improve library organization and make searching a breeze.
- View Location Data — See exactly where a photo was taken, with the option to add location data manually if it wasn’t captured automatically.
Why Mastering the Info Panel Matters
For anyone serious about organizing and managing a growing photo library on a Mac, the Info Panel is an essential starting point. It gives you complete visibility into your images — from the technical details captured by your camera to the personal context you add yourself. Understanding how to use it effectively will save you time and make your entire Photos library easier to navigate.
Learn More With Our Full Apple Photos for Mac Course
This tutorial is just one of over 40 in-depth video lessons included in our complete Apple Photos for Mac course at TheMacU.com. As an All Access Member, you’ll get step-by-step guidance on every feature — from basic organization to advanced editing tools.
🎓 This lesson is part of our full Apple Photos for Mac course — featuring over 40 in-depth videos!
👉 Become an All Access Member at TheMacU.com and start mastering Apple Photos today.

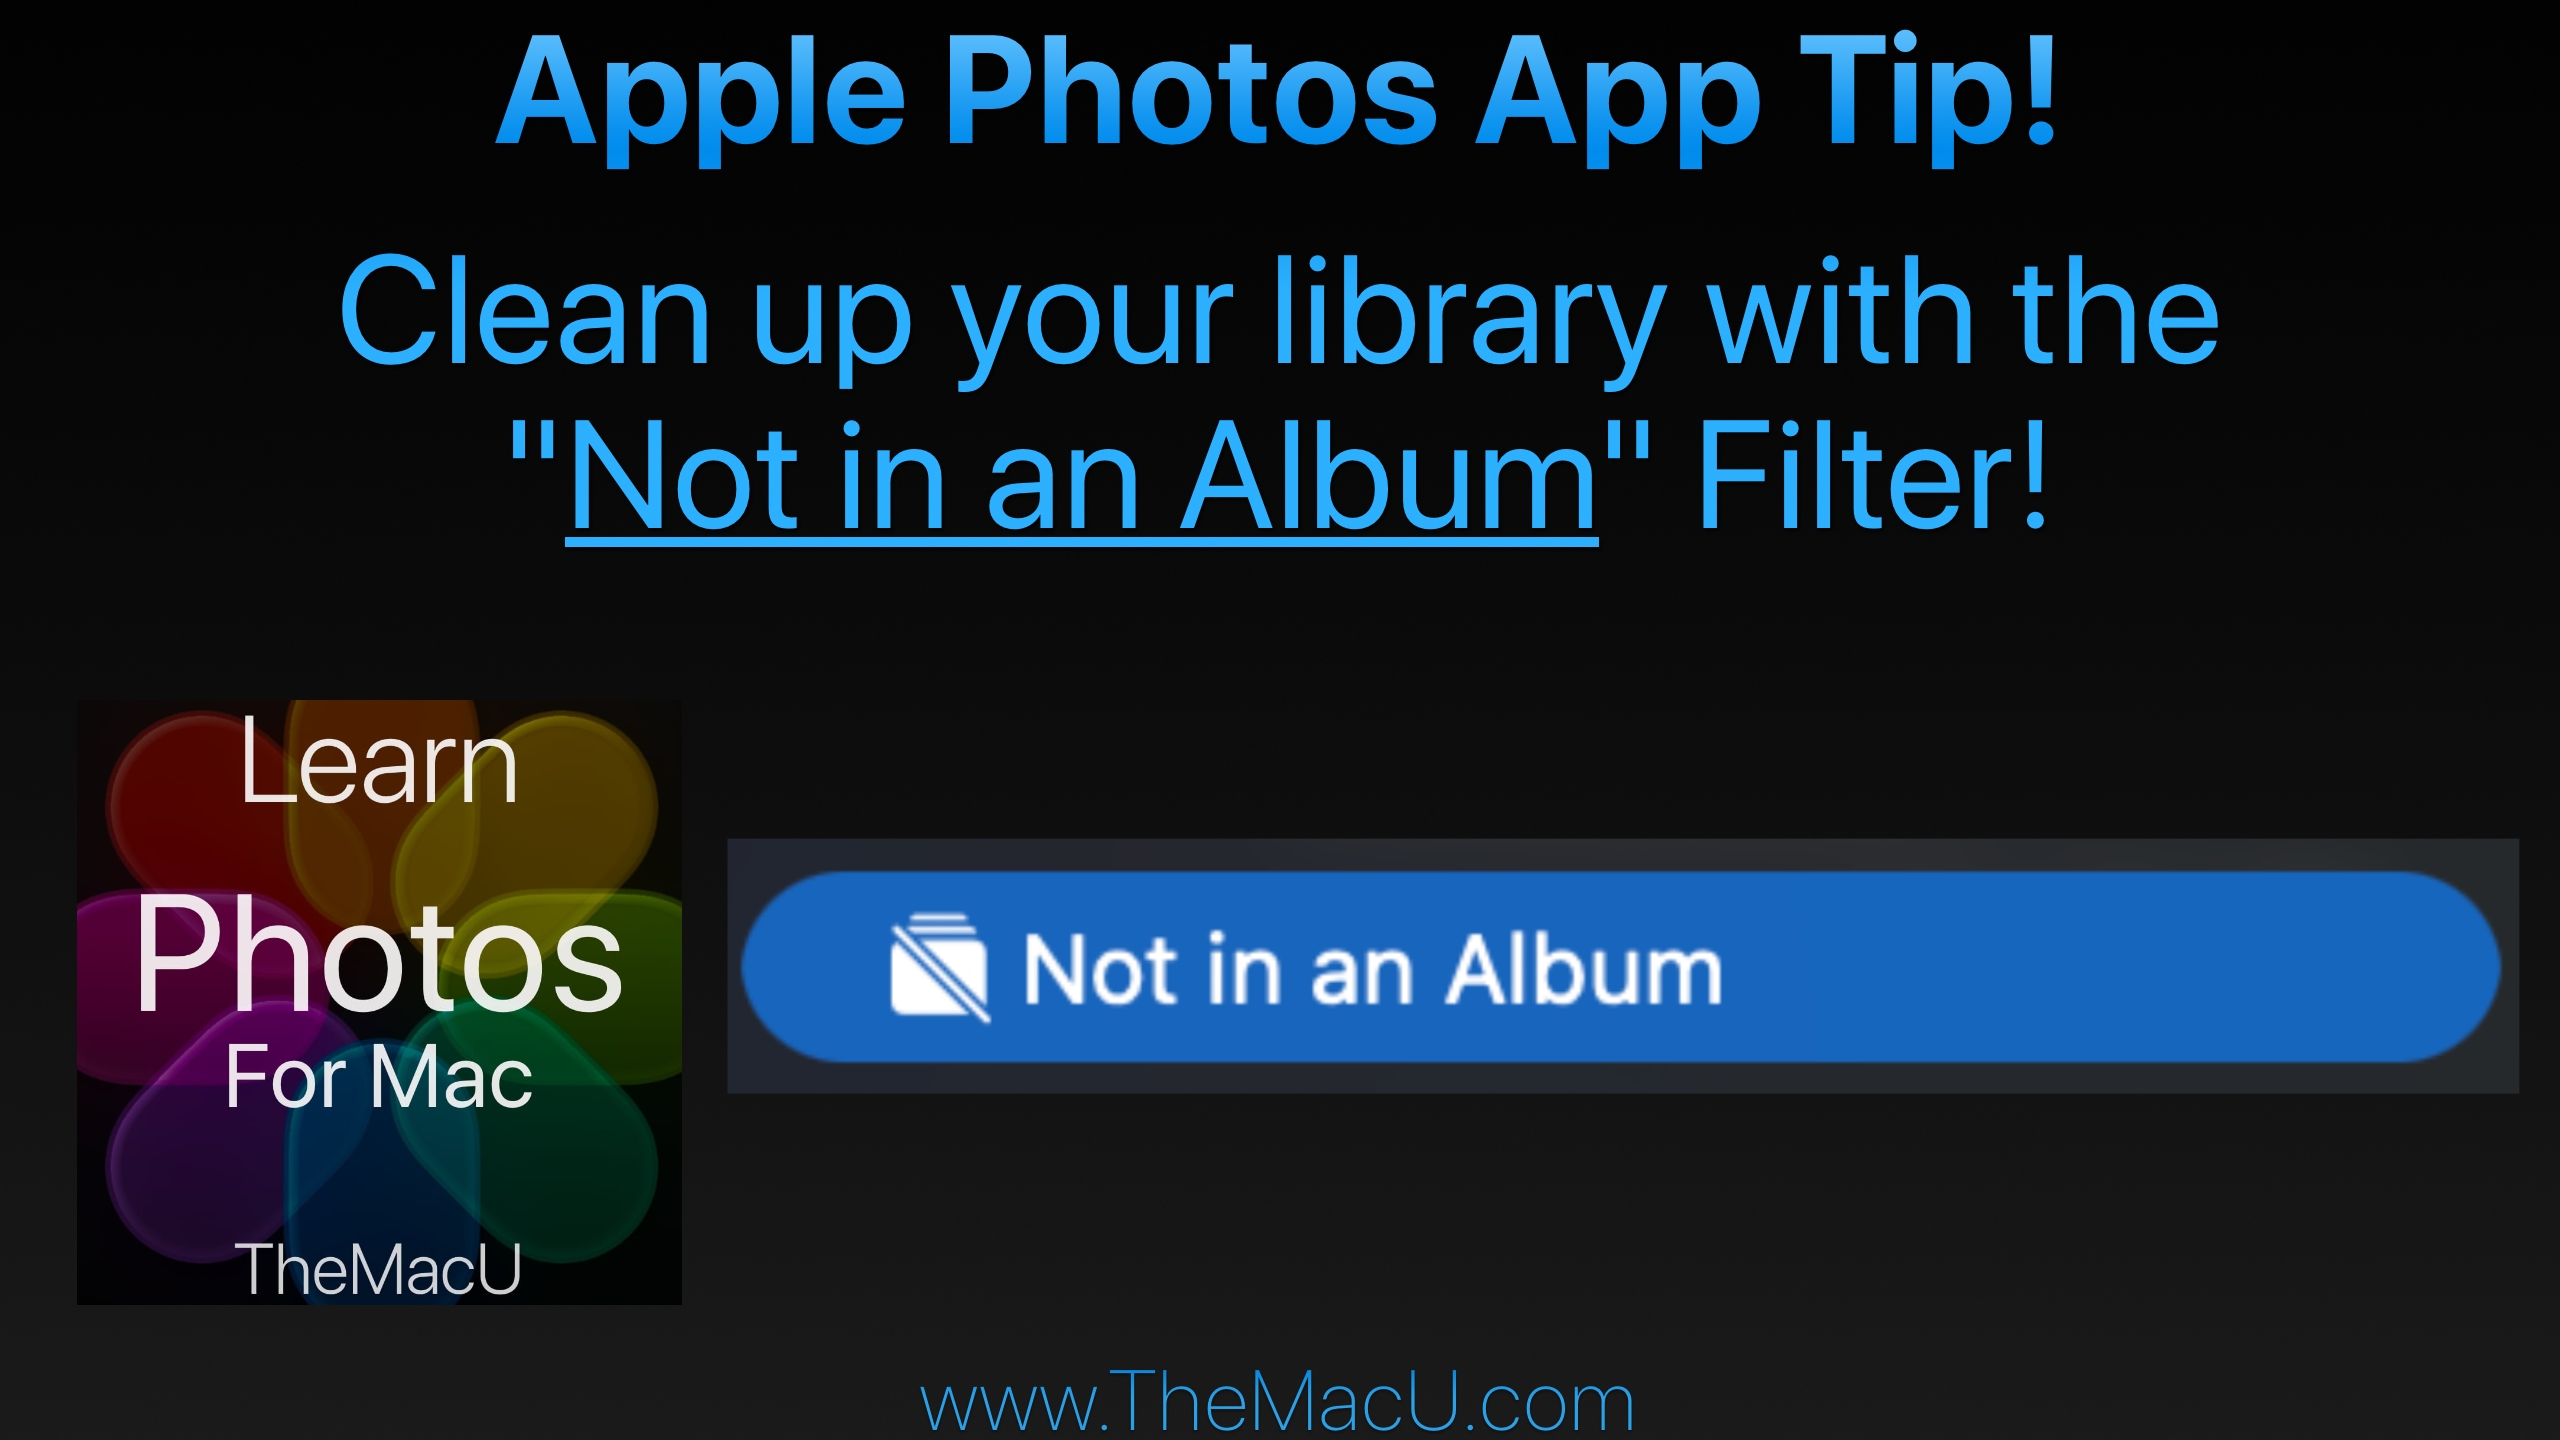
In this lesson from TheMacU.com learn to use the “Not in an Album” filter in your Photos library. This will prevent images or videos that you have organized into an album from continuing being shown in the main library view as well. This seems to be a cause of frustration for many Photos App users! Learn much more about the Apple Photos App at TheMacU.com!
Get the most out of the Photos App built into your Mac! This Photos for Mac video tutorial provides a comprehensive guide to viewing, organizing, editing, and sharing your photo library. In the “View & Organize” section, the lessons cover everything from the basics of navigating the Photos interface—such as the toolbar, sidebar, and info panel—to importing images from cameras, disks, other apps, and AirDrop. It also explores iCloud Photos, working with metadata and keywords, managing favorites, adjusting dates and times, and organizing by people, pets, and places. The tutorial includes guidance on creating and managing both standard and smart albums, handling hidden or deleted items, identifying duplicates, and using features like media types, utilities, and shared or multiple libraries, including iCloud Shared Photo Library. The “Editing Tools” section (coming early 2026) demonstrates how to enhance and refine your photos and videos. Viewers will learn to use the edit mode interface with tools like Auto Enhance, Crop & Straighten, Filters, and an in-depth set of adjustment options such as Light, Color, Black & White, White Balance, Levels, Curves, and Noise Reduction. Additional lessons explain retouching, correcting red-eye, sharpening, and applying vignettes or selective color adjustments. The tutorial also covers editing Live Photos, portrait shots, and videos, as well as working with extensions and other apps. Finally, the course explores creating slideshows, using the Share menu, exporting media, and how to wrap up your projects for sharing. Together, these lessons provide a step-by-step approach for managing, editing, and sharing photos on Mac, making it ideal for both beginners and those looking to expand their skills.
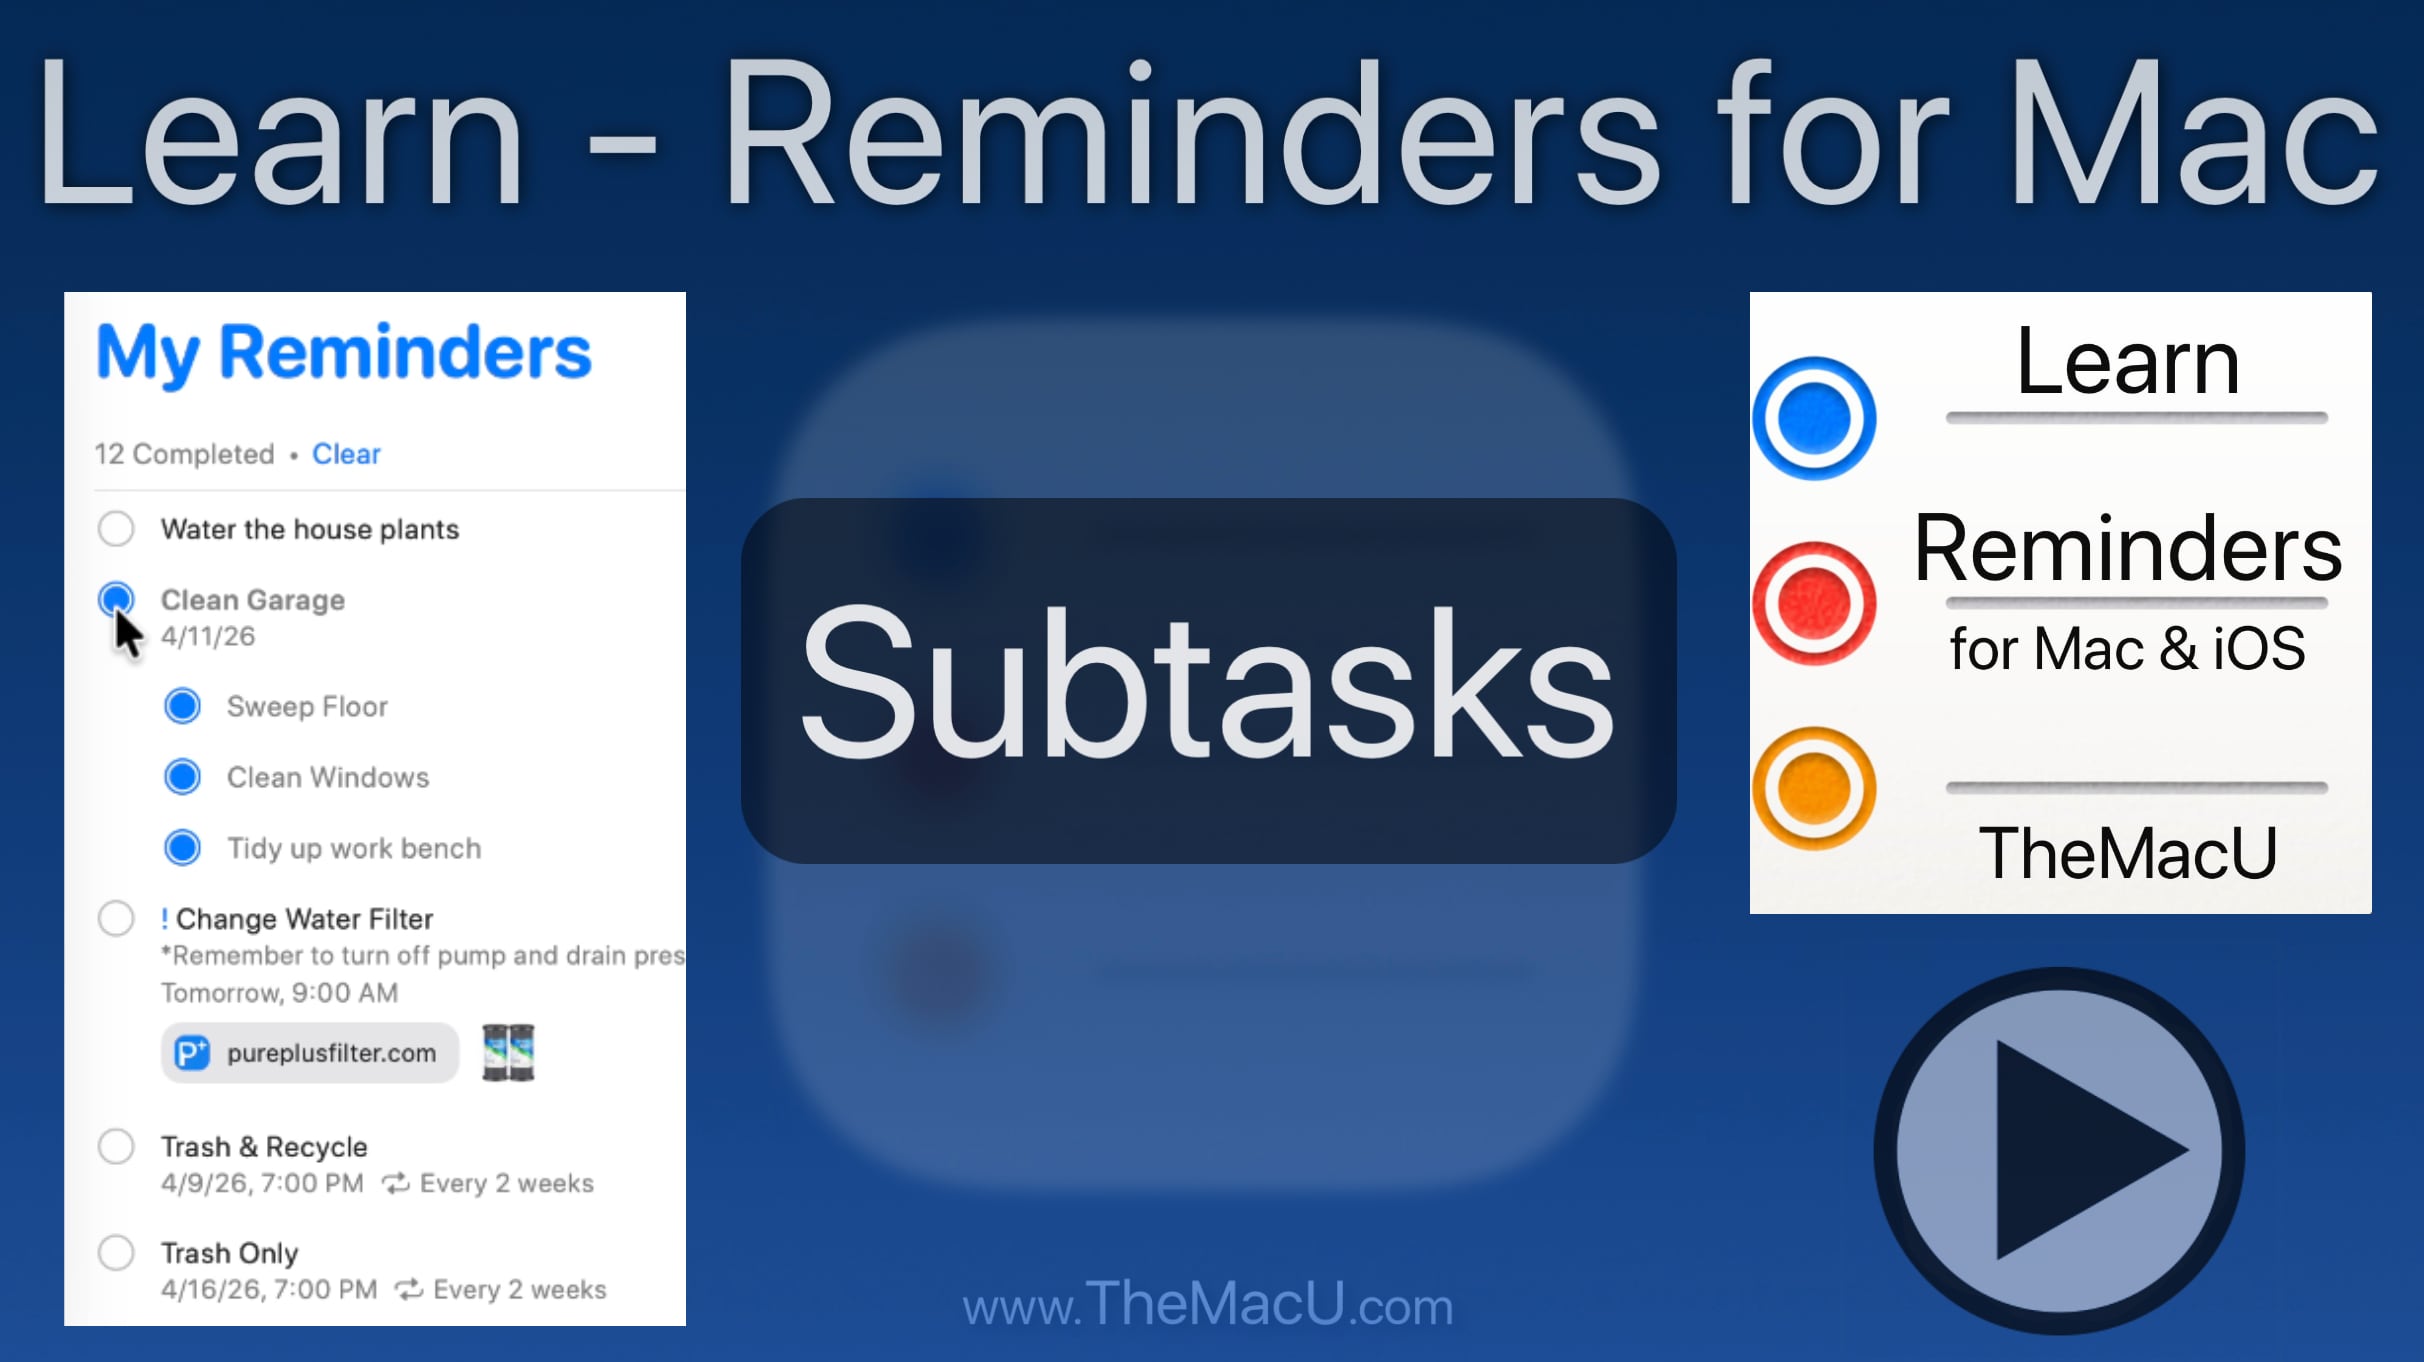
Using subtasks in the Mac Reminders app helps organize related tasks under one parent reminder, making complex to‑do lists easier to manage and track.