
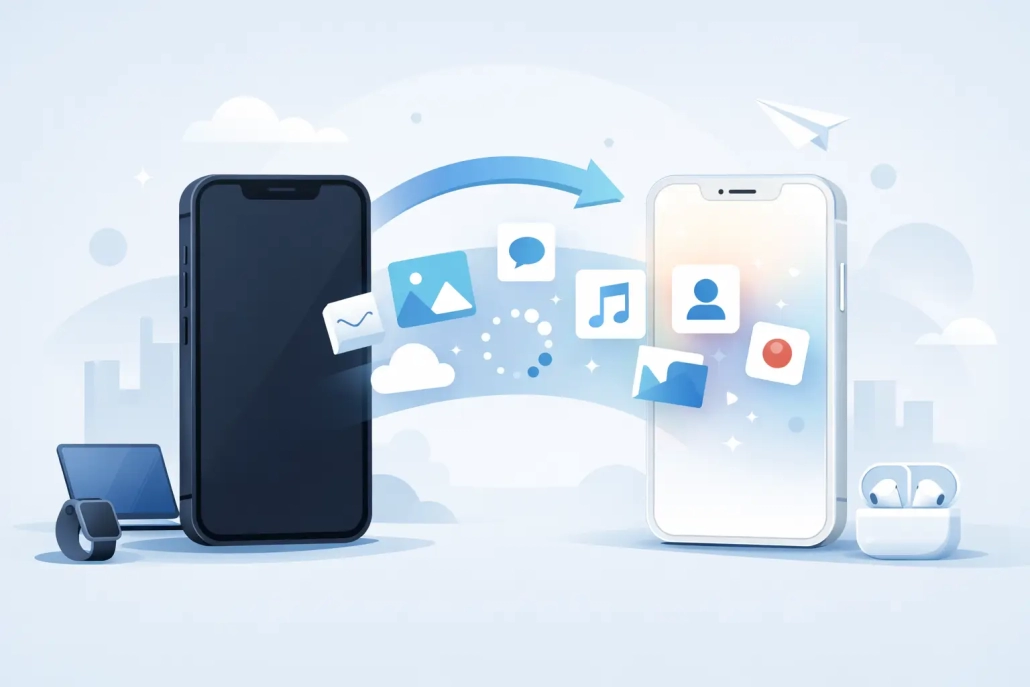
How to Transfer Data to a New iPhone!
That moment when the new iPhone comes out of the box is exciting right up until you hit the setup screen and start wondering what happens to your photos, messages, apps, and passwords. If you need to transfer data to new iPhone, the good news is that Apple gives you several reliable ways to do it. The better news is that the right option usually becomes clear once you know how each method works.
For most people, Quick Start is the easiest path. But it is not always the best one. If your old iPhone is low on storage, has a weak battery, or you want a cleaner setup, iCloud or a computer backup may be a better fit. The goal is not just moving your data. It is getting your new iPhone set up correctly the first time, with the least frustration.
Before You Transfer Data to New iPhone
A smooth transfer starts before you tap Continue on anything. First, update your old iPhone to the latest version of iOS it supports. This reduces setup issues and improves compatibility with your new device.
Next, make sure you know your Apple Account password. You may also need your old iPhone passcode, your SIM PIN if you use one, and passwords for email or banking apps that require sign-in again later. If you use Apple Watch, it is smart to confirm the watch is backed up through the paired iPhone before you begin.
Battery level matters more than people expect. Put both iPhones on power if possible, and connect to a stable Wi-Fi network. If your old phone is nearly full, take a moment to remove anything you no longer need. You do not have to do a full cleanup, but deleting large videos or unused apps can shorten the process.
If you use eSIM, your carrier may let you transfer it during setup. In some cases, you may need to confirm the move with your carrier after setup is complete. That part depends on the carrier and model, so do not be surprised if the process varies slightly.
The Easiest Method: Quick Start
If both iPhones are with you, Quick Start is usually the simplest way to transfer data to new iPhone. Turn on the new iPhone and place it near the old one. The old iPhone should display a setup prompt asking if you want to use your Apple Account to set up the new device.
Tap Continue, then use the old iPhone to scan the animation that appears on the new one. After that, you will be guided through a few setup steps, including entering the old iPhone passcode on the new device.
From there, you will usually see the option to transfer directly from iPhone or restore from iCloud. If you choose direct transfer, the phones will start moving data device to device. Keep them near each other, connected to power, and leave them alone until the process finishes.
This method works well because it brings over a lot of your content and settings in one pass. Your apps may continue downloading after the initial setup, but your overall environment should feel familiar quickly.
There are a few trade-offs. Direct transfer can take a while if you have a lot of photos or messages. It also depends on both phones staying available and functional during the process. If your old iPhone has display issues, charging problems, or keeps disconnecting from Wi-Fi, another method may be more reliable.
Using iCloud Backup Instead
If your old iPhone is not nearby, or you would rather back up first and restore later, iCloud is a strong option. On your old iPhone, go to Settings, tap your name, tap iCloud, then iCloud Backup, and choose Back Up Now. Wait for the backup to finish before starting the new phone.
When you set up the new iPhone, choose the option to restore from iCloud Backup and sign in with your Apple Account. Pick the most recent backup, then let the restore begin.
This method is convenient because it does not require both phones to stay side by side for the full transfer. It also gives you a fresh backup point before you make the switch, which can be reassuring.
The main limitation is time and internet speed. Large backups can take a while to create and restore, especially if you have years of photos and messages. You also need enough iCloud storage to complete the backup. If you are close to your storage limit, that can interrupt the process.
Still, iCloud restore is often the most practical choice when you are replacing a damaged device, trading in an old iPhone, or setting up the new one at a different time or location.

Using a Mac or PC for the Transfer
A computer backup is often overlooked, but it can be the most dependable option when you want more control. On a Mac, connect your old iPhone with a cable, open Finder, select the iPhone, and create a backup. On a Windows PC, you will typically use the Apple Devices app or iTunes, depending on your setup.
If you want passwords, Health data, and saved Wi-Fi settings to transfer, choose the encrypted backup option and create a backup password you will remember. That step matters. Without encryption, some sensitive information will not carry over.
Once the backup is complete, connect the new iPhone and choose Restore from this backup during setup. Select the backup you just made and let the restore finish.
This route takes a little more effort, but it is useful when Wi-Fi is slow, iCloud storage is limited, or you prefer having a local backup. It can also be faster for very large libraries, especially if you use a wired connection.
What Actually Transfers – and What May Not
Most people expect the new iPhone to look exactly like the old one right away. Usually it gets close, but not always immediately. Photos, messages, contacts, calendars, settings, and many app layouts will transfer. Apps themselves may redownload from the App Store after setup rather than move over as complete files.
Some items may need attention afterward. Apple Pay cards usually need to be added again for security reasons. Certain apps, especially banking, workplace, or authentication apps, may require a fresh sign-in or device verification. Downloaded music or offline media may also need to sync again.
If you use iCloud Photos, your full photo library may continue syncing in the background after setup. That does not mean the transfer failed. It often means the new phone is still pulling full-resolution versions from iCloud.
Common Problems and How to Avoid Them
When transfers go wrong, the cause is usually something simple. The most common issue is rushing the process. If you start tapping around, switching networks, or moving phones too far apart during Quick Start, the transfer can stall.
Another problem is outdated software. If one iPhone is running a much older version of iOS, setup may pause until an update is installed. That adds time, but it is normal.
Storage can also create confusion. Your new iPhone needs enough room for the data you are restoring. If the old phone is packed and the new one has less storage, you may need to restore selectively by reducing photo or video content first.
If you see a message that the transfer cannot continue, restart both devices and try again. That solves more setup problems than many people expect. If Quick Start keeps failing, switch to iCloud or a computer backup instead of repeating the same process several times.
After Setup: What to Check
Once the new iPhone reaches the Home Screen, take five minutes to verify the essentials. Open Photos, Messages, Contacts, Notes, and Files. Make sure your email accounts are present and that Wi-Fi connects normally.
Then check the details people often miss. Confirm Face ID is working, review notification settings, test iMessage and FaceTime activation, and open any app that handles finances, health, or two-factor authentication. If you use Apple Watch, make sure it is paired and working as expected.
This is also a good time to decide what happens to the old iPhone. Do not erase it immediately unless you are certain the new one has everything you need. Give yourself a day or two if possible. Once you are confident, sign out where needed, erase the old device, and prepare it for trade-in, sale, or backup use.
If you want the least stressful route, choose the transfer method that matches your situation instead of forcing the most popular one. A new iPhone should feel like an upgrade, not a project, and a little preparation makes that much more likely.


