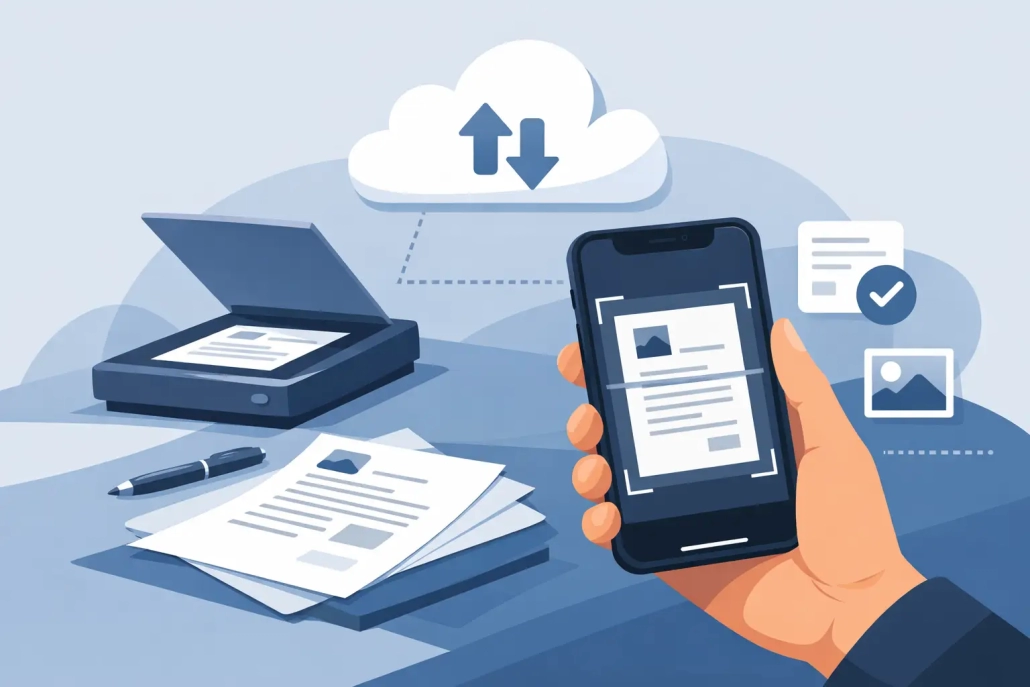
How to Scan Documents With iPhone Notes
A paper form lands on your desk, and you need to send it in the next five minutes. This is exactly where it helps to know how to scan documents with iPhone Notes. You do not need a separate scanner app, and you do not need a multifunction printer nearby. If you already have your iPhone with you, Apple has built the tool right into Notes.
For many people, this feature is one of the most useful hidden productivity tools on the iPhone. It is fast, reliable, and simple once you know where to find it. More importantly, it helps you turn physical paperwork into something you can save, organize, mark up, sign, and share without leaving Apple’s built-in apps.
Why scan documents with iPhone Notes?
The biggest advantage is convenience. Notes is already on your iPhone, which means there is nothing extra to install, learn, or pay for. If your goal is to capture receipts, scan forms, save mail, or digitize class handouts, this method keeps the process straightforward.
It also works well because Apple has designed the scanner to detect document edges automatically. In good lighting, it usually recognizes the page, straightens the perspective, and produces a clean scan with very little effort. That said, results can vary. A white sheet on a dark table tends to scan beautifully, while wrinkled pages, glossy paper, or low light may need a little manual adjustment.
Another benefit is what happens after the scan. Because the document lives inside Notes, you can rename the note, add text above it, create folders for categories, and keep related information together. For some users, that is more useful than sending every scan directly into Files.
How to scan documents with iPhone Notes
Open the Notes app on your iPhone and either create a new note or open an existing one. Tap the attachment button, which looks like a paperclip in many current versions of iOS, then choose Scan Documents. On some versions, you may tap the camera button first. Apple occasionally changes the placement slightly, but the feature remains inside the note editor.
Once the camera opens, position your iPhone above the document. If Auto mode is active, your iPhone will detect the page and capture it automatically. This is the easiest option for most situations. If you prefer more control, you can switch to Manual mode and press the shutter button yourself.
After the page is captured, you can drag the corners to adjust the crop if the edges were not detected perfectly. Tap Keep Scan if it looks right. If you have multiple pages, keep scanning one page after another. When you are finished, tap Save, and the document will be inserted directly into the note.
That is the basic workflow. Once you do it a couple of times, the process becomes very quick.

Getting a cleaner scan the first time
A good scan starts before you tap anything. Place the paper on a flat surface with contrast behind it. A white page on a white countertop can confuse edge detection, while a darker background gives the camera a clearer outline.
Lighting matters more than most people expect. Bright, even light is best. If one side of the page is in shadow or there is glare from an overhead light, the scan can look uneven. Moving the document closer to a window or changing the angle of the phone often fixes the issue.
It also helps to hold the iPhone directly above the page rather than at a steep angle. The scanner can correct perspective, but it still works best when the page is relatively centered and flat. If the document has folds or curled edges, smooth it out first. That small step usually improves the final result.
What happens after you scan
When your scan is saved in Notes, tap the document to open it full screen. From there, you can review each page, add more pages later, crop again, rotate pages, or apply a different color filter. This is useful if a page came in sideways or if black and white makes a text-heavy form easier to read.
You can also use Markup if you need to annotate the file. That may mean circling a section, highlighting part of a page, or writing a note directly on the scan. For many basic document tasks, this removes the need for a separate PDF editor.
If the document needs a signature, tap Markup and use the signature tool. This is especially practical for forms, approval sheets, or simple agreements. It is not a replacement for every e-signature workflow, but for everyday personal paperwork, it works well.
Saving and sharing your scanned document
One detail that matters is where you want the document to live long term. Notes is convenient for capturing the scan, but it may not be the final destination for every file. If you are scanning something temporary, leaving it in Notes may be perfectly fine. If it is a tax record, contract, or document you want to file carefully, you may prefer to move it into Files.
To share a scanned document, open the scan, tap the share button, and choose how you want to send it. You can send it through Mail, Messages, AirDrop, or save it to Files. In most cases, the scan is shared as a PDF, which is exactly what most schools, offices, and service providers expect.
This is one of the reasons Notes is so useful. It handles the capture step quickly but still gives you flexibility afterward. You are not locked into a single app or workflow.
When Notes is the right tool – and when it is not
For everyday users, Notes is often the best place to start. It is ideal for quick document capture, personal paperwork, receipts, signed forms, and multi-page scans that need to be shared right away. It is also excellent for users who want a simple built-in method without learning a specialized app.
Still, there are trade-offs. If you scan a high volume of documents every week, you may eventually want more advanced naming rules, OCR-focused search options, or tighter integration with a business document system. Notes keeps things simple, which is usually a strength, but it is not designed to replace every professional scanning platform.
There is also an organization question. If your Notes app is already full of personal notes, travel plans, checklists, and ideas, adding dozens of scans can make it feel cluttered. A good middle ground is to create a dedicated folder for scanned documents or save final versions into Files after scanning.
Common problems and easy fixes
If the scanner is not detecting the page automatically, the issue is often lighting or contrast. Move to better light, place the paper on a darker surface, and make sure the whole document is visible in the frame.
If the scan looks blurry, clean your camera lens and hold the iPhone steady for a moment before capture. Blurriness is sometimes caused by motion rather than focus. Taking one extra second before the shot can make a noticeable difference.
If a page is cut off, open the scan and recrop it. You do not always need to rescan the entire document. Notes gives you enough editing control to correct many small mistakes afterward.
And if you cannot find the scan option at all, make sure you are inside a note and looking for the attachment or camera controls. The exact icon can differ slightly by iOS version, which can be confusing if you are following older instructions.
A simple workflow that saves time
Once you start using this feature regularly, a pattern usually emerges. You scan the document in Notes, check the crop, save it, add any markup or signature, then share it or move it to Files if needed. That sequence covers a surprising number of real-world tasks.
This is also a good example of what Apple does well when its built-in apps are used together. Notes, Files, Markup, Mail, and iCloud can handle an entire document workflow with less friction than many people expect. If you like learning practical Apple skills step by step, this is exactly the kind of feature that can make your iPhone feel much more useful day to day.
The next time a paper document shows up when you are away from your desk, you will not need to improvise. Your iPhone is already carrying the scanner.


