
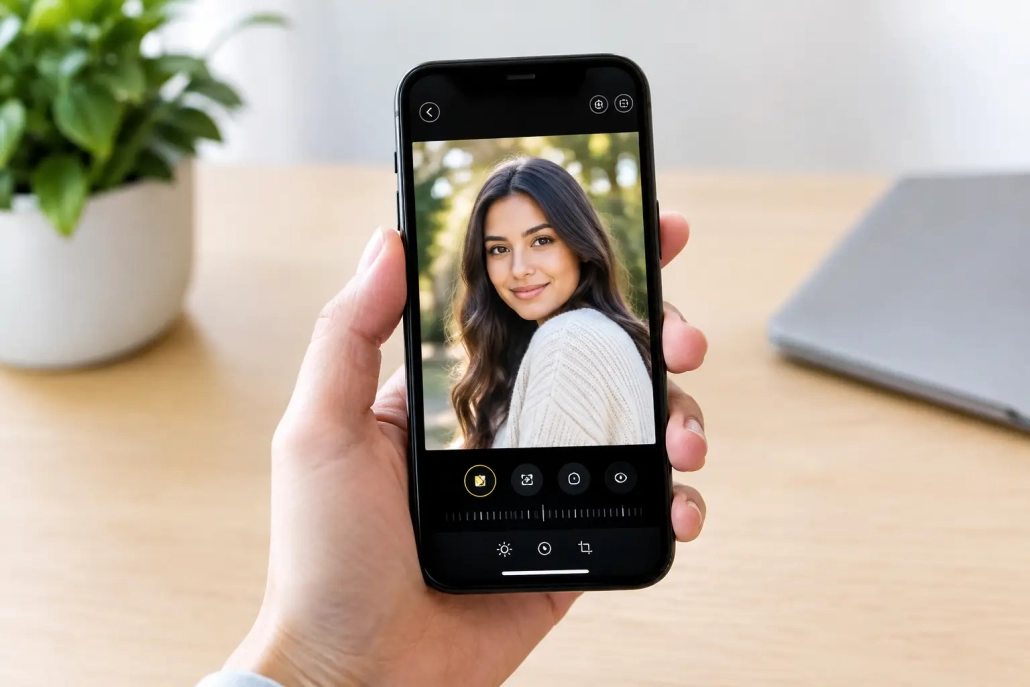
How to Edit iPhone Portraits in the Photos App
A Portrait mode photo can look excellent on your iPhone screen and still need a few careful adjustments before you share or print it. Learning how to edit iPhone portraits is less about applying dramatic effects and more about directing attention to the person in the frame. A brighter face, controlled background blur, and natural skin color can make an ordinary portrait feel intentional.
The built-in Photos app gives you the tools to make those changes without moving your image to another app. The key is to work in a consistent order: first correct the overall light, then refine color, adjust the portrait effect, and finish with small details. This approach helps you avoid the most common problem in mobile editing: making every adjustment at once and losing the natural look of the photo.
Start with a copy and assess the portrait
Open the photo in the Photos app, tap Edit, and take a moment before touching a slider. Look specifically at the subject’s face. Is it too dark compared with the background? Is the skin tone too warm, too cool, or overly saturated? Does the background blur look convincing around hair, glasses, and shoulders?
Photos keeps your original image, even after you edit it. You can tap Revert later to remove all changes, so you can work with confidence. Still, if you expect to create several very different versions for social media, printing, or a profile photo, duplicate the image first. Tap the More button, then choose Duplicate.
A useful goal is to identify the one change that would improve the image most. In many portraits, it is not color or sharpness. It is simply making the face easier to see.
How to edit iPhone portraits: correct light first
In the Edit screen, use the adjustment controls to establish a balanced starting point. The exact controls available can vary slightly by iPhone and iOS version, but the editing principles remain the same.
Begin with Exposure if the entire image is too bright or too dark. Move it only a small amount. Exposure affects everything in the frame, including bright windows, skies, and light clothing, so a large adjustment can make a portrait look flat.
Next, try Brilliance. This is often one of the most helpful tools for portraits because it can brighten darker areas while preserving more detail in highlights than a broad exposure increase. If the person’s face is in shadow but the background already looks bright, Brilliance is usually a better first choice.
Use Highlights to recover detail in bright areas, such as a white shirt, sunlit forehead, or window behind the subject. Use Shadows to reveal detail in darker hair, jackets, or a face photographed under a hat. Small adjustments are usually enough. When shadows are raised too far, the image can lose depth and begin to look gray.
Then fine-tune Contrast and Black Point. Contrast creates more separation between light and dark areas, while Black Point deepens the darkest tones. A modest increase can add definition to a portrait, especially on an overcast day. But if you push either control too far, dark hair and clothing can lose visible detail.
As you work, press and hold the photo to compare your edit with the original. This simple check prevents you from gradually accepting an edit that has become too bright or too heavy.
Give the face priority over the background
A portrait does not need a perfectly even exposure from edge to edge. If the person’s face is well lit and the background remains slightly darker, that can improve the image. The subject should feel clear and present, not washed out in an attempt to brighten every part of the frame.
If the background is much brighter than the person, however, there is a limit to what editing can recover. Raising shadows may help, but it can also introduce noise or reduce contrast. In that situation, a more restrained edit usually looks better than forcing a difficult photo into something it was not.
Refine color without changing the person
Once the light is balanced, move to color. Start with Vibrance rather than Saturation. Vibrance tends to increase muted colors more gently, which is useful when you want a little life in the image without turning skin, lips, or clothing unnaturally intense.
Use Saturation sparingly. It affects all colors equally, and even a moderate increase can make skin look orange or red. For most portraits, a small vibrance adjustment and little or no saturation adjustment produces the better result.
Warmth changes the overall color temperature. Move it slightly warmer if the portrait was taken in blue shade or under cool indoor lighting. Move it slightly cooler if a room’s lighting made skin look overly yellow or orange. There is no single correct setting because skin tones vary, lighting varies, and a warm sunset portrait may be meant to look warm. The important question is whether the skin still looks believable.
Tint can help correct a noticeable green or magenta cast, particularly in photos made under mixed indoor lighting. This control is easy to overuse. Make a small move, then look at neutral objects in the frame, such as a white wall or gray shirt, as well as the person’s face.
If your iPhone offers Photographic Styles on images taken with a compatible model, remember that the chosen style may already influence tone and warmth. You can still edit the photo normally, but avoid compensating for a style with extreme color adjustments unless that is a deliberate creative choice.
Adjust Portrait mode depth and lighting
Portrait mode records depth information when the iPhone successfully recognizes a subject and creates the background blur effect. In Edit mode, look for the Portrait control or the f button. This lets you change the simulated aperture after taking the photo.
A lower f-stop number creates stronger background blur. It can be effective for a close head-and-shoulders image where the subject is clearly separated from the background. It is less convincing when several people are standing at different distances, when detailed hair edges are visible, or when the background is already simple.
For a natural result, try reducing excessive blur rather than adding more. A setting around the middle often preserves enough background detail to establish a sense of place while keeping attention on the person. If the edge around hair, a hand, or glasses looks artificial, increasing the f-stop number can soften the effect.
You may also see Portrait Lighting options such as Natural Light, Studio Light, Contour Light, Stage Light, Stage Light Mono, and High-Key Light Mono. These are creative tools, not corrections you must apply. Natural Light is often the strongest choice when the original lighting is already flattering. Studio Light can gently brighten the face, while Contour Light can add more facial definition.
Stage Light effects can be useful for a stylized image, but they require clean subject separation. If the iPhone does not identify the outline accurately, the effect may cut into hair or leave distracting edges. When that happens, choosing Natural Light is not settling for less. It is choosing the option that respects the photo.
Crop and straighten for a stronger composition
Tap the Crop button after your light and color adjustments. Straighten obvious tilted horizons, doorframes, or walls first. A small correction can make a casual portrait feel much more polished.
Then consider the crop. For a profile image, a tighter vertical crop often works well because the face remains prominent at smaller sizes. Leave a little room in the direction the subject is looking, when possible. Cropping directly against the top of the head or tightly around the chin can feel accidental unless you are intentionally creating a close-up.
The crop tool can also correct distracting elements at the edges of the frame. Removing a bright lamp, partial arm, or cluttered corner can be more effective than trying to edit it away with color adjustments.
Finish with detail, but do not over-sharpen
The last controls to consider are Definition, Sharpness, and Noise Reduction. Definition can add local contrast and make details appear clearer. Sharpness can make edges more distinct. Both should be used lightly, especially with faces, where too much texture can emphasize skin, makeup, or compression artifacts.
Noise Reduction is most useful for portraits made in low light. It can smooth grainy areas, but high settings may soften eyelashes, hair, and fabric. If the photo is very noisy, prioritize a pleasing overall look rather than trying to make it appear perfectly crisp.
Before you tap Done, view the image at its normal size and then zoom in briefly on the face. At normal size, ask whether the person stands out naturally. Zoomed in, check that eyes, hair edges, and skin have not become overly processed. These two views reveal different problems, and both matter.
A well-edited iPhone portrait should still feel like the moment you photographed. With a few restrained adjustments in Photos, you can bring the viewer’s attention exactly where it belongs: on the person, not on the editing.


