
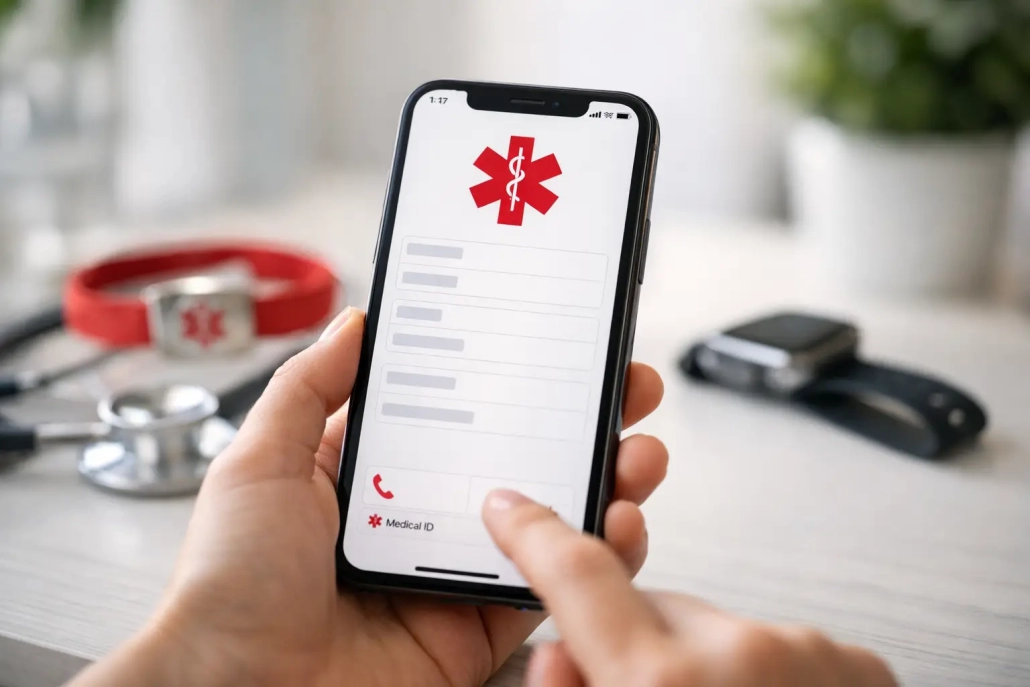
Medical ID Setup on iPhone: A Clear Guide
A Medical ID setup takes only a few minutes, but it can make essential health information available when you may not be able to explain it yourself. Your iPhone can display selected details, such as allergies, medications, and emergency contacts, from the Lock Screen without giving someone access to the rest of your device.
The goal is not to turn your iPhone into a complete medical record. It is to create a short, accurate reference that can help first responders, medical professionals, or a bystander understand the information that matters most in an emergency.
What Medical ID Does on iPhone
Medical ID is part of the Health app on iPhone. It stores emergency information you choose to share, including your name, date of birth, medical conditions, allergies and reactions, medications, blood type, organ donor status, and emergency contacts.
When the feature is configured to show on the Lock Screen, someone can access the Medical ID screen without knowing your passcode. On many iPhones, they can tap Emergency from the Lock Screen and then choose Medical ID. This is intentional: the information is meant to be available when speed matters.
Your emergency contacts are also connected to Emergency SOS. When you place an emergency call through SOS, your iPhone may notify those contacts and share your location after the call, depending on your settings, location, and available services.
There is a practical trade-off here. Medical ID is useful because it is accessible, but that means any details you add to it may be seen by someone holding your locked iPhone. Include information that could affect emergency care, and leave out details that are too private or unlikely to help in an urgent situation.
Medical ID Setup Step by Step
Start on your iPhone by opening the Health app. Tap your profile picture or initials in the upper-right corner, then select Medical ID. Choose Get Started if you have never created one, or tap Edit to update an existing Medical ID.
Enter your name and date of birth first. Then work through the health categories that apply to you. You do not need to complete every field. A short profile with current, meaningful information is more helpful than a long profile filled with outdated or uncertain details.
For example, if you have a severe allergy to penicillin, that belongs in Medical ID. If you take a medication that could affect emergency treatment, list it with the correct name and dose if you know it. If you are unsure whether a condition or medication should be included, ask your doctor or pharmacist rather than guessing.
As you scroll through the page, look for the setting labeled Show When Locked. Turn this on if you want the Medical ID information available from your iPhone Lock Screen. This is the setting that makes the feature useful if you are unconscious, disoriented, or unable to unlock your device.
When you finish, tap Done. Return to the Medical ID screen periodically to confirm that your information is still correct.
Add Emergency Contacts Carefully
Emergency contacts should be people who are likely to answer their phone and who can provide helpful information if contacted. A spouse, adult child, close friend, caregiver, or trusted neighbor may be a good choice.
In Medical ID, tap the green add button next to Add Emergency Contact. Choose a person from your Contacts app, then select the relationship. You can add more than one contact, which is wise if your first choice travels often, works irregular hours, or may not answer unknown calls.
Before adding someone, tell them you have selected them. Confirm that their phone number is current and ask whether they are comfortable being contacted in an emergency. It also helps to tell them where you keep important medical documents, such as an insurance card, medication list, or advance directive.
Consider Emergency Sharing Options
You may see an option to share Medical ID information during an emergency call. Availability can vary by region and emergency service, so it should not replace speaking directly to a dispatcher whenever you can. Still, it can provide another layer of support when the feature is available.
Review the wording on this screen before turning it on. Apple may share selected Medical ID details and location information with emergency services in certain situations. Choose the setting that matches your comfort level and local availability.
Which Details Belong in Your Medical ID?
Think of Medical ID as an emergency snapshot. It should answer the questions a responder may need to know quickly: Who is this person? Do they have a serious condition? Are there allergies or medications that could change treatment? Who should be called?
The most useful entries often include serious allergies, major medical conditions, current medications, blood type if known, and emergency contacts. You can also add notes about implants, mobility needs, communication needs, or conditions such as diabetes, epilepsy, asthma, heart disease, or dementia when relevant.
Be precise without trying to write a full history. “Allergic to latex” is clear. “Takes insulin for Type 1 diabetes” is more useful than simply writing “diabetes.” Avoid vague notes such as “has health issues” or “takes several medications.” Those statements can create confusion instead of helping.
Do not guess your blood type. If you do not know it, leave that field blank. Medical professionals will test blood before a transfusion when necessary, so an unverified entry is not worth the risk of being wrong.
Test What Another Person Can See
After Medical ID setup is complete, test it while your iPhone is locked. Lock the phone, wake the screen, and select Emergency. Look for the Medical ID option and verify that your profile appears as expected.
This test is especially valuable after an iOS update or when setting up a new iPhone. Interface details can change slightly between software versions, but the important question stays the same: can emergency information be reached without unlocking the device?
If you use an Apple Watch, keep your iPhone Medical ID current. Apple Watch can support emergency features, and your health and emergency information can work across your Apple devices. The exact steps to view emergency information may vary with your watchOS version, so it is worth checking your watch settings after you update its software.
Keep Medical ID Current
Medical ID is not a set-it-and-forget-it feature. Review it after a medication change, new diagnosis, new allergy, surgery, move, or change in emergency contacts. Even a phone number that is one digit out of date can prevent the right person from being reached.
A simple routine works well: review Medical ID twice a year, perhaps when daylight saving time begins and ends, or on your birthday and six months later. If you help a parent, partner, or older family member with their iPhone, offer to review their Medical ID with them. Let them decide what to include, but make sure the final information is accurate and easy to understand.
For many people, the best Medical ID is brief, current, and visible from the Lock Screen. That small bit of preparation can make an iPhone more than a communication device when someone needs help quickly.


