
How to Edit Videos in iMovie on Your Mac
A good video usually becomes good in the editing, not in the moment you press Record. A short clip of a family event, a product demonstration, or a vacation can feel much more watchable once you remove the pauses, arrange the best moments, and make sure viewers can hear what matters. Learning how to edit videos in iMovie gives you a practical way to do that using an app already available on your Mac.
iMovie is designed for straightforward projects, but its simple appearance can hide the order that makes editing easier. Start by organizing your footage, build the story before adding effects, then make small refinements. This approach prevents a common frustration: spending time on titles and music before you know whether the video itself flows well.
Start a New iMovie Project
Open iMovie on your Mac and select Create New, then choose Movie. A Movie project gives you an empty timeline and full control over your clips. Trailers can be useful for a prebuilt, cinematic-style template, but they are less flexible when you want to create your own sequence.
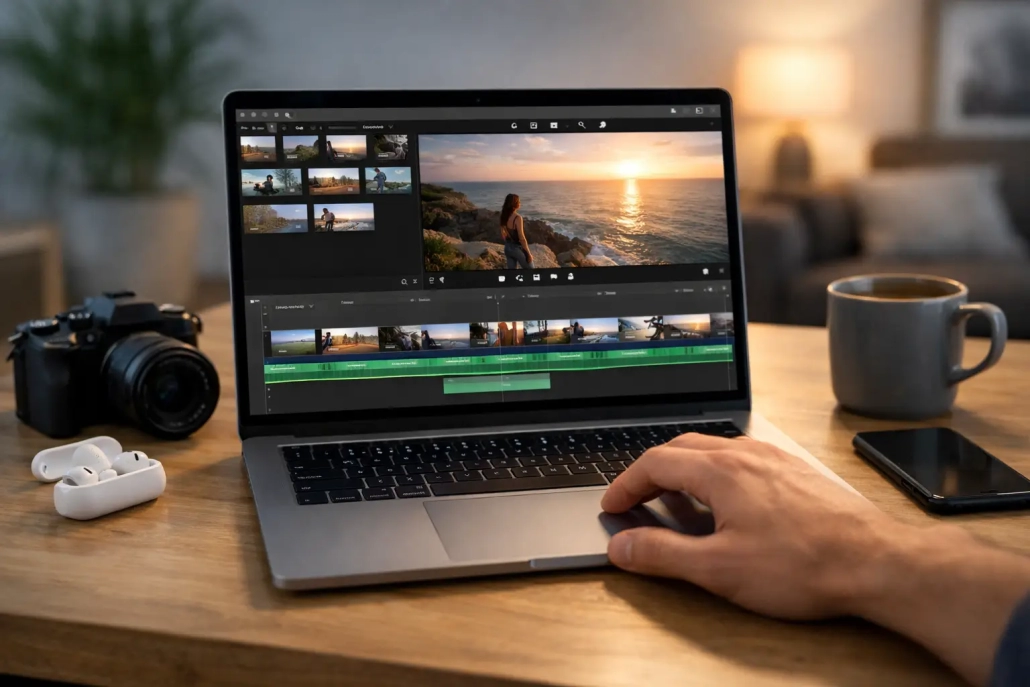
The iMovie window is divided into three useful areas. Your media appears in the upper-left portion of the window, the viewer is at the upper right, and the timeline runs along the bottom. Think of the timeline as your workbench. It is where you place clips in order, trim unwanted sections, add audio, and create the finished video.
Before importing, create a folder on your Mac for the project and place the related video clips, photos, and audio files there. iMovie can work with media stored in different locations, but gathering files first makes a project easier to manage and find later.
Choose Import Media and select the files you want to use. Video from an iPhone, camera, or another folder on your Mac can be imported into the project. If you have many clips, take a few moments to watch them in the media browser and identify the strongest moments before you begin editing.
How to Edit Videos in iMovie: Build the First Cut
A first cut is the basic version of your story. At this stage, focus on what belongs in the video and in what order. Do not worry yet about transitions, music, or perfect color adjustments.
To add a clip, select it in the media browser and drag it into the timeline. You can also move the pointer over a clip, click the circular plus button that appears, and choose to add it to the movie. Continue adding clips from left to right in the order you want people to see them.
For a simple personal video, chronological order may be enough. For a tutorial or presentation, begin with the result or purpose, then show the steps in a logical sequence. For example, a video about organizing a desk is more useful when it opens with the finished workspace, then shows the process that created it.
As you build, play the timeline often. Press the space bar to start and stop playback. Short, regular reviews help you spot an awkward clip order before the project becomes more complicated.
Trim away the parts viewers do not need
Most clips include extra time at the beginning and end: reaching for the camera, a pause before someone speaks, or a few seconds after the action is finished. Removing these moments is one of the fastest ways to improve a video.
Click a clip in the timeline. Drag its left edge to shorten the beginning, or drag its right edge to shorten the end. This is called trimming. It does not permanently erase the original media file, so you can always drag the edge back if you cut too much.
If you need to remove a section from the middle of a clip, move the playhead to where the unwanted section begins. Use Modify > Split Clip, then move to the end of that section and split again. Select the piece between the two cuts and press Delete. The remaining clips move together automatically.
Be deliberate with your cuts. A quick family montage can use short clips to create energy, while an instructional video may need a little more time so viewers can follow each action. The right pace depends on the purpose of the video and the audience watching it.
Rearrange clips without starting over
To change the order, drag a clip to a new position in the timeline. A vertical line shows where it will land. This simple action is often more useful than any special effect because the order of information determines whether a video makes sense.
If you are editing a longer project, use the slider above the timeline to zoom in for precise cuts or zoom out to see the overall structure. Zooming in is helpful when you are cutting around speech. Zooming out helps you judge whether one section is much longer than the rest.
Add Transitions Only Where They Help
A transition controls how one clip changes to the next. iMovie offers choices such as Dissolve, Wipe, and Fade to Black. Select Transitions above the media browser, then drag a transition between two clips in the timeline.
For most projects, a clean cut is the best choice. Cuts keep a tutorial clear and a casual video moving. Use a dissolve when you want to show a gentle passage of time or shift from one scene to another. A fade to black can work at the end of a major section.
Too many different transitions can distract from the content. If viewers notice every transition, the effect is probably doing more work than the story needs.
Add Titles That Clarify the Video
Titles are useful when they provide context viewers cannot easily get from the picture alone. You might add an opening title with the name of the video, a lower-third title to identify a person, or short labels to explain steps in a demonstration.
Choose Titles, then drag a title style above a clip in the timeline. Click the title in the viewer to replace the sample text. Keep wording brief and make sure it remains on screen long enough to read comfortably.
Choose a title style that matches the project. A clean, simple title works well for most instructional and personal videos. Animated titles can be enjoyable, but they should support the tone rather than compete with the footage.
Improve Audio Before Adding Music
Viewers will often tolerate an imperfect shot, but unclear audio can make them stop watching. Listen through your video with headphones if possible. This makes it easier to notice background noise, sudden volume changes, and moments when music is too loud.
Select a clip and use the volume control above the viewer to raise or lower its audio. You can also drag the horizontal volume line within an audio clip in the timeline. If one person speaks quietly and another speaks loudly, adjust each clip so the conversation feels consistent.
To add music, select Audio and browse the available soundtracks or import an audio file you have permission to use. Drag it below the video clips in the timeline. Music should sit underneath narration or natural sound, not overpower it. Lower the music volume until it supports the mood without making viewers strain to hear speech.
If the video opens or closes abruptly, use the small fade handles at either end of an audio clip. A short fade-in and fade-out can make the project feel more polished without calling attention to itself.
Make Small Visual Adjustments
iMovie includes useful tools for correcting a clip that is slightly too dark, poorly framed, or uneven. Select a clip, then use the controls above the viewer. The Crop tool can remove distracting edges or change framing. The Color Balance and Color Correction tools can help improve a clip that looks too warm, too cool, or too dim.
Use these tools with restraint. A small brightness adjustment can rescue an otherwise useful shot. Heavy corrections, filters, or dramatic color changes can make clips look inconsistent, especially when footage comes from different devices.
Stabilization can reduce minor camera shake, but it may crop into the image and can take time to process. It is worth trying on an important handheld shot, but compare the result before applying it throughout a project.
Review the Full Movie and Export It
Before exporting, play the entire video from beginning to end. Watch it as a viewer would, not as the person who made it. Check that titles are readable, cuts do not interrupt a sentence, and the audio stays comfortable from start to finish.
When you are ready, select the Share button in the upper-right corner of iMovie and choose Export File. For most uses, 1080p provides excellent quality with a reasonable file size. Choose 4K only when your source footage is 4K and the extra detail matters, since 4K exports take more storage and may take longer to create.
Give the file a clear name and choose a location you will remember, such as your Movies folder or a dedicated project folder. After the export finishes, play the saved file once before sending or posting it. This final check catches issues that are easy to miss inside the editing window.
Your first iMovie project does not need to look like a commercial production. Aim for a video that is easy to follow, pleasant to hear, and focused on its purpose. Each project gives you another chance to make cleaner cuts, choose stronger clips, and feel more confident creating with the Apple devices you already own.


