
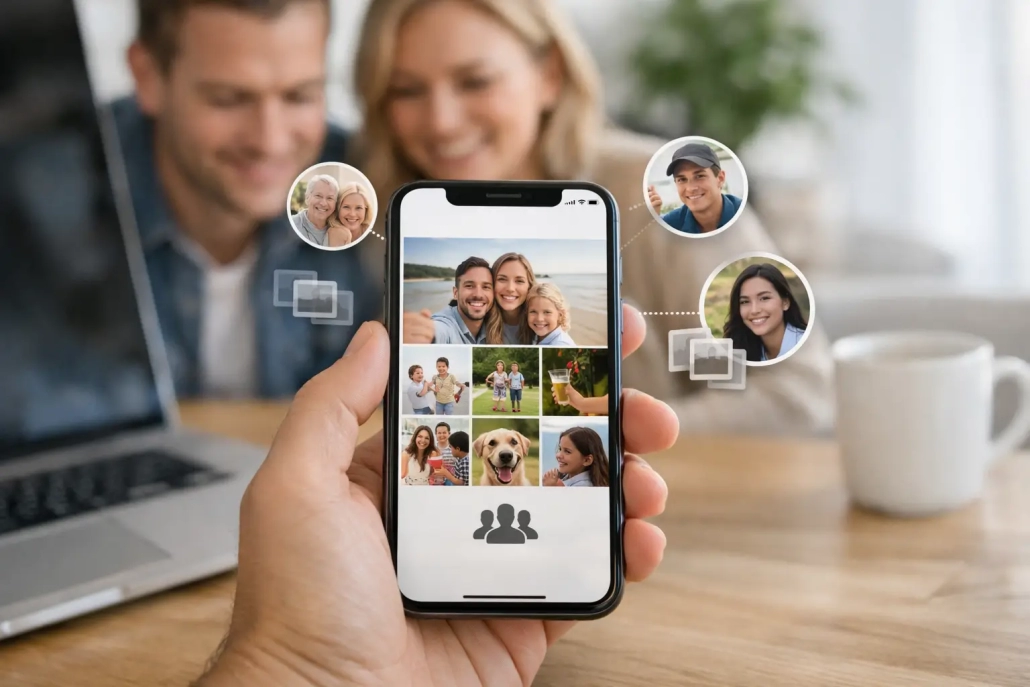
How to Create a Shared Photo Library on iPhone
A family vacation can leave everyone with hundreds of photos and no clear place to find them. One person has the pictures of the kids at the beach, another has the restaurant photos, and a third has the videos. When you create shared photo library in Apple Photos, those moments can live together in one organized space while each person keeps their own personal library.
Apple’s Shared Library is designed for households, couples, and small groups who want to collect meaningful photos without passing albums back and forth. It is more powerful than a shared album because participants can contribute, edit, favorite, caption, and organize the same collection. Before turning it on, it helps to understand what changes and how to set clear expectations.
What a Shared Photo Library Does
A Shared Library is a second library within the Photos app. Your personal photos remain in your Personal Library unless you choose to move or copy them. The Shared Library holds the pictures and videos that a group wants to manage together.
Everyone in the group sees the same Shared Library content on their Apple devices through iCloud Photos. If someone adds a photo, the other participants can see it. If someone edits or deletes a photo in the Shared Library, that action affects the shared version for everyone.
This is different from a Shared Album. Shared Albums are useful for casually sharing selected photos, especially with a larger audience. A Shared Library is better when a small group wants one central collection that behaves much like a regular photo library.
Apple allows up to six people in a Shared Library, including the person who creates it. Each participant needs an Apple Account with iCloud Photos turned on. For the smoothest experience, everyone should also update their iPhone, iPad, or Mac to a compatible current version of its operating system.
Before You Create a Shared Photo Library
Take a few minutes to decide who should participate and what belongs in the shared space. This prevents the most common problem: moving a large number of personal photos into the library before everyone agrees on its purpose.
For example, a couple may use a Shared Library for photos of their children, pets, home projects, and trips. A family might use it only for holidays and reunions. There is no single right approach, but a clear boundary makes the library easier to browse later.
Also consider storage. Shared Library photos count against the organizer’s iCloud storage plan, even when another participant takes or adds the photo. If the organizer’s iCloud storage is nearly full, review the available space before moving a large collection of videos or high-resolution images.
How to Create a Shared Photo Library
You can start a Shared Library from an iPhone, iPad, or Mac. The screens may look slightly different depending on your software version, but the choices are similar.
Set it up on an iPhone or iPad
Open Settings, then select Photos. On some newer versions of iOS or iPadOS, you may need to open Settings, choose Apps, and then select Photos. Look for Shared Library, then choose Start Setup.
You will be asked to invite participants. Enter the email address or phone number associated with each person’s Apple Account. You can invite people now or choose to add them later.
Next, Apple will ask which photos and videos you want to move into the Shared Library. You can choose to move everything, choose items by people or date, select items manually, or move nothing for now. For most people, selecting items manually is the safest starting point. It gives you time to learn the feature without accidentally moving private or unrelated photos.
Apple may then offer a preview of the Shared Library. Review it carefully before confirming. When you are ready, select Invite via Messages or another available invitation method. Your Shared Library begins once you complete setup, though invited people must accept before they can participate.
Set it up on a Mac
Open the Photos app, then choose Photos from the menu bar and select Settings. Open the Shared Library tab and choose Get Started. From there, the process follows the same pattern: add participants, choose which existing photos to include, review the selection, and send invitations.
If your Mac does not show the Shared Library option, first confirm that iCloud Photos is enabled and that macOS is up to date enough to support the feature. The Mac must also be using the same Apple Account as your iPhone or iPad if you expect to see the same libraries across devices.
Choose the Right Way to Add Photos
After setup, Photos gives you several ways to add content. You can move photos from your Personal Library manually, save newly taken photos directly to the Shared Library, or let Photos suggest items based on people, dates, or locations.
Manual selection is best when you want complete control. In Photos, select the items you want to share, tap or click the Share button, and look for the option to move them to the Shared Library. Because the files are moved rather than duplicated, they no longer appear in the Personal Library view alone. They remain available when you view both libraries together.
Automatic sharing can be useful for a couple or household that wants to collect everyday memories with less effort. On iPhone, Shared Library settings can let you share photos taken when you are near other participants. This option depends on Bluetooth and location-related conditions, so it will not suit every situation. It is convenient for family outings, but manual sharing may be better for work events, private gatherings, or any setting where you want a deliberate review first.
When taking a photo with the Camera app, look for the Shared Library control near the top of the screen. You can switch between sending the new photo to your Personal Library and Shared Library. This is a simple habit that prevents sorting work later.
View Personal and Shared Photos Clearly
In the Photos app, use the library view control to switch between Personal Library, Shared Library, and Both Libraries. The Both Libraries view is useful for everyday browsing because it shows your complete photo timeline. When you are organizing or deleting photos, however, it is often safer to switch to a single library so you know exactly where an item lives.
Pay attention to this distinction when creating albums. Albums can contain photos from either library, but the underlying ownership still matters. If you are building a private album for personal work, keep those images in your Personal Library. If you are making an album for a family trip, use Shared Library photos so every participant can enjoy and manage it.
Set Expectations for Edits and Deletions
A Shared Library works best when participants treat it as a common space. Anyone can edit a photo’s crop, filters, date, location, caption, and other details. Those changes are visible to all participants. The same is true of deletion.
Deleted Shared Library items go to the Recently Deleted album, where they can generally be recovered for a limited time. Still, recovery is not a good replacement for communication. If one person is organizing the collection, agree before removing a large group of images or changing important captions and dates.
It can also help to make a simple rule about duplicates. Some families keep every version because each person’s perspective matters. Others choose one or two best photos from an event and remove near-identical shots. Either method works if the group agrees on it.
When a Shared Album Is the Better Choice
Do not create a Shared Library just because you want to show photos to someone. A Shared Album may be the better fit when you are sharing pictures with grandparents, friends, clients, or a larger group that does not need editing access to the full collection.
Use a Shared Library when the group is small and the photos are jointly owned in practice. Use a Shared Album when you want to distribute selected photos while keeping your main organization and control separate. Many Apple users benefit from using both: a Shared Library for the household and Shared Albums for individual events or audiences.
A well-organized Shared Library is less about moving every photo and more about giving the right memories a dependable home. Start with a small set of photos, let everyone become comfortable with the controls, and expand the collection as your group develops a rhythm. That measured approach keeps Apple Photos useful, personal, and easy to manage.


