
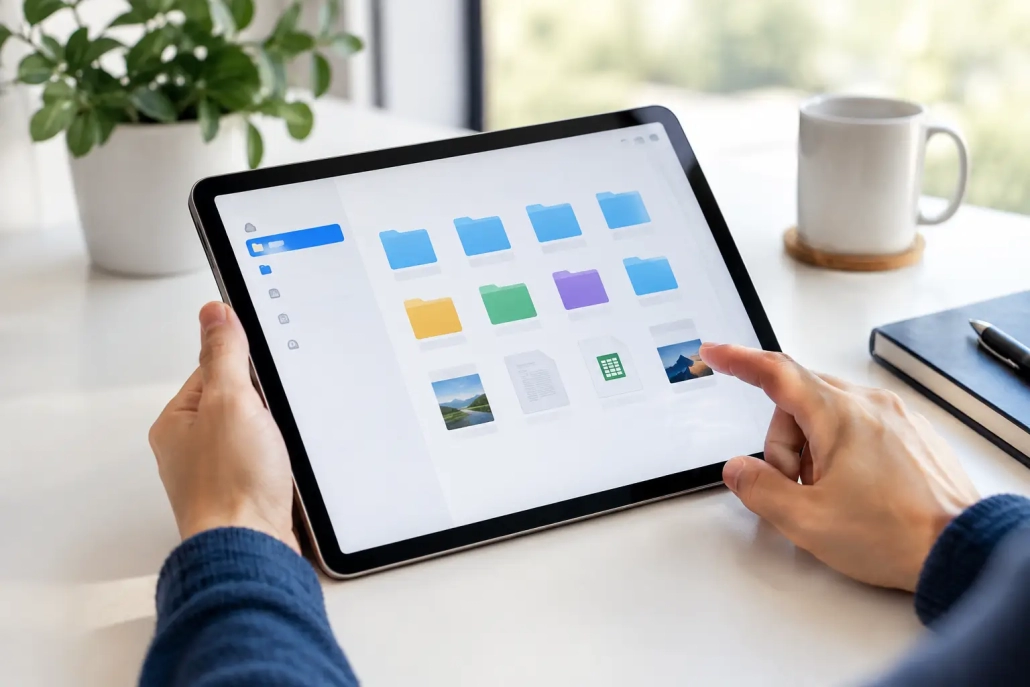
iPad Files App Organization Guide for Daily Work
A document should not disappear just because you saved it on an iPad. The Files app can become a dependable home for PDFs, scans, downloads, project materials, and personal records, but only when it has a simple structure behind it. This iPad Files app organization guide walks you through a practical system that is easy to maintain, even if your files currently feel scattered across Downloads, iCloud Drive, and individual app folders.
The goal is not to build a complicated filing cabinet. It is to create a few predictable places for your files, use names that make sense later, and take advantage of the tools Apple already includes.
Start by Understanding Where Files Live
Open the Files app and tap Browse. The sidebar shows Locations, which may include iCloud Drive, On My iPad, external storage devices, and cloud services such as Dropbox or OneDrive if you use them.
For most people, iCloud Drive is the best primary location for important documents. Files stored there can appear on your other Apple devices when you are signed in with the same Apple Account and have iCloud Drive enabled. You can start a document on your iPad, then continue working with it on a Mac or locate it from an iPhone.
On My iPad is different. It stores files locally on that specific iPad. This can be useful for large video files, temporary project materials, or documents you want available without relying on an internet connection. The trade-off is that local files do not automatically appear on your other devices. If the iPad is lost, damaged, or replaced before those files are backed up elsewhere, you may lose access to them.
Individual apps can also create their own folders under On My iPad. You may see folders for Pages, Numbers, Keynote, or other apps. These are not necessarily a problem, but they can make a system feel fragmented. When possible, save finished documents into a central iCloud Drive folder structure rather than leaving them only inside an app folder.
Build a Folder Structure You Can Remember
A good folder system answers one question quickly: “Where would I look for this?” If you need to pause and consider five possible folders, the structure is doing too much.
In iCloud Drive, create a small number of top-level folders based on the areas of your life or work. For example, you might use Personal, Household, Work, Finances, and Projects. Someone who uses an iPad mainly for creative work may prefer Clients, Reference, Current Projects, and Exports.
To create a folder, open the location where you want it to live, tap the More button, then choose New Folder. Give it a name that is short and obvious. Avoid vague labels such as “Miscellaneous” or “Important.” Those folders often become a place where documents go to be forgotten.
Keep folders shallow
Within each top-level folder, add only the subfolders you genuinely need. A Household folder might contain Insurance, Home Repairs, Medical, and Receipts. A Work folder might contain one folder per client or department.
Try not to build folder layers that are too deep. For example, Work > Clients > 2026 > Active > Client Name > Documents > Final may be technically organized, but it takes too many taps to reach. Often, Work > Client Name > 2026 Projects is enough.
If you regularly access a folder, press and hold it and choose Favorite. Favorites appear in the Files sidebar, saving you from opening several folder levels every time.
Give Files Names That Help You Search
A clear filename is one of the most useful organizational tools on an iPad. It helps you recognize a document in a folder and makes search results far more useful.
Start filenames with the subject, not a generic word such as “Document” or “Scan.” Instead of `Scan 12`, use `Auto Insurance Card 2026` or `Kitchen Repair Estimate – Smith Plumbing`. For work, a name such as `Acme Website Proposal – Approved` is easier to identify than `Proposal Final Final`.
Dates can also help, especially for recurring documents. Use the format YYYY-MM-DD when the date needs to sort in chronological order. A filename such as `2026-09-15 Monthly Budget` will line up properly with other monthly budgets. If the exact date is not meaningful, a year or month may be enough.
To rename a file, press and hold it, choose Rename, enter the new name, and tap Done. Make renaming part of the saving process. Spending ten seconds now is much easier than trying to identify ten similarly named PDFs six months from now.
Use Tags for Files That Cross Categories
Folders tell you where a file belongs. Tags let you mark files based on what you need to do with them. This is especially helpful when one document could reasonably fit in more than one place.
For example, a contractor estimate might be saved in Household > Home Repairs, then tagged To Review until you make a decision. A work invoice could stay in its client folder while also carrying an Expense tag. You do not need duplicate copies of the same file just to make it easier to find.
To add a tag, press and hold a file and choose Tags. You can use Apple’s existing colored tags or create your own with names such as Action Needed, Waiting For, Reference, or Tax 2026.
Use tags sparingly. A long list of tags can become just as confusing as an overcrowded folder structure. Two to five tags that support an active workflow are usually more helpful than dozens of labels.
Make Downloads a Temporary Stop, Not Storage
The Downloads folder is one of the most common sources of Files app clutter. Attachments, receipts, forms, and PDFs often land there automatically, then remain long after they are useful.
Set aside a few minutes once a week to open Downloads and make quick decisions. Move files worth keeping into their permanent folders, rename anything that arrived with an unclear name, and delete items you no longer need. If a file is only needed for a short time, leaving it in Downloads is fine. The problem begins when Downloads becomes your long-term archive.
To move a file, press and hold it, choose Move, then select the destination folder. You can also select multiple items by tapping the More button and choosing Select. This is useful after downloading several files from email or a website.
Use the Scanner and Share Sheet With Intention
The Files app can scan paper documents directly into a folder. Open the destination folder, tap the More button, and choose Scan Documents. This is a simple way to keep warranty paperwork, signed forms, medical records, and receipts in the correct location from the beginning.
Before scanning, navigate to the folder where the document belongs. That one habit prevents a pile of unnamed scans from accumulating in a general location. After the scan is saved, rename it immediately if the default name does not explain what it is.
When sharing a document from Mail, Safari, Notes, or another app, choose Save to Files and select its permanent folder instead of accepting the default location without checking. You will save time later, particularly with items such as travel confirmations, invoices, and reference PDFs.
Find Documents Without Browsing Every Folder
Even a well-organized system benefits from search. Tap the Search field in Files and enter a filename, part of a filename, or a document type such as PDF. Files can search across locations, so it is often faster than manually opening folders.
You can also change how files are displayed. Tap the More button in a folder to sort by name, date, size, or kind. Sorting by date is useful in Downloads and active project folders. Sorting by name works best when you use consistent filenames.
For documents you need frequently, use Favorites or keep them in a clearly named current-project folder. Do not rely on Recents as your filing system. Recents is useful for reopening something you just used, but it is not a permanent view of where the file belongs.
Maintain the System in Small Moments
The best iPad Files app organization guide is one you can follow without turning organization into a separate project. Save new files to the right place when you receive them. Rename unclear files before closing the app. Clear Downloads weekly. Review older project folders when a project ends.
If your Files app is already cluttered, do not try to organize every document in one sitting. Start with new files and the folders you use most. Then improve one area at a time, such as finances or household records. A system that gets a little better every week is far more likely to last than a perfect structure you never maintain.
Your iPad is capable of holding the documents that support your daily life and work. Give each file a sensible home, and finding what you need can become a quick, confident step instead of a frustrating search.


