Mac, iPhone & iPad tips · Mac
How to Make a Movie in iMovie
Learn how to make a movie in iMovie with clear steps for clips, audio, titles, and export settings so your finished video looks polished fast.

You do not need professional editing software to turn a folder of clips into a finished video. If you want to learn how to make a movie in iMovie, the fastest path is to follow a simple editing sequence: import, organize, trim, arrange, add sound, add titles, then export.
That order matters. Many beginners start adding effects too early, then end up fixing basic timing problems later. iMovie works best when you build the structure of your movie first and polish it second.
The basic iMovie workflow on Mac

Watch it free, then go deeper: the iMovie for Mac tutorial has 32 step-by-step lessons. Start your free trial →
Before you make a movie in iMovie
Start by gathering everything you plan to use. That usually means video clips, photos, music, and maybe a voiceover or logo. Put them in one folder before you open iMovie. It saves time and makes it much easier to spot missing files.
Open iMovie on your Mac and create a new project by choosing Movie, not Trailer. Trailer uses a preset format with fixed placeholders and pacing. It can be fun, but if your goal is full control over your own project, Movie is the better choice.
Once the project opens, import your media. You can drag files directly into iMovie or use the Import Media button. If your clips came from an iPhone, they may already be easy to locate in Photos or a synced folder. Either way, confirm that everything appears before you begin editing.
How to make a movie in iMovie step by step
Build your timeline first
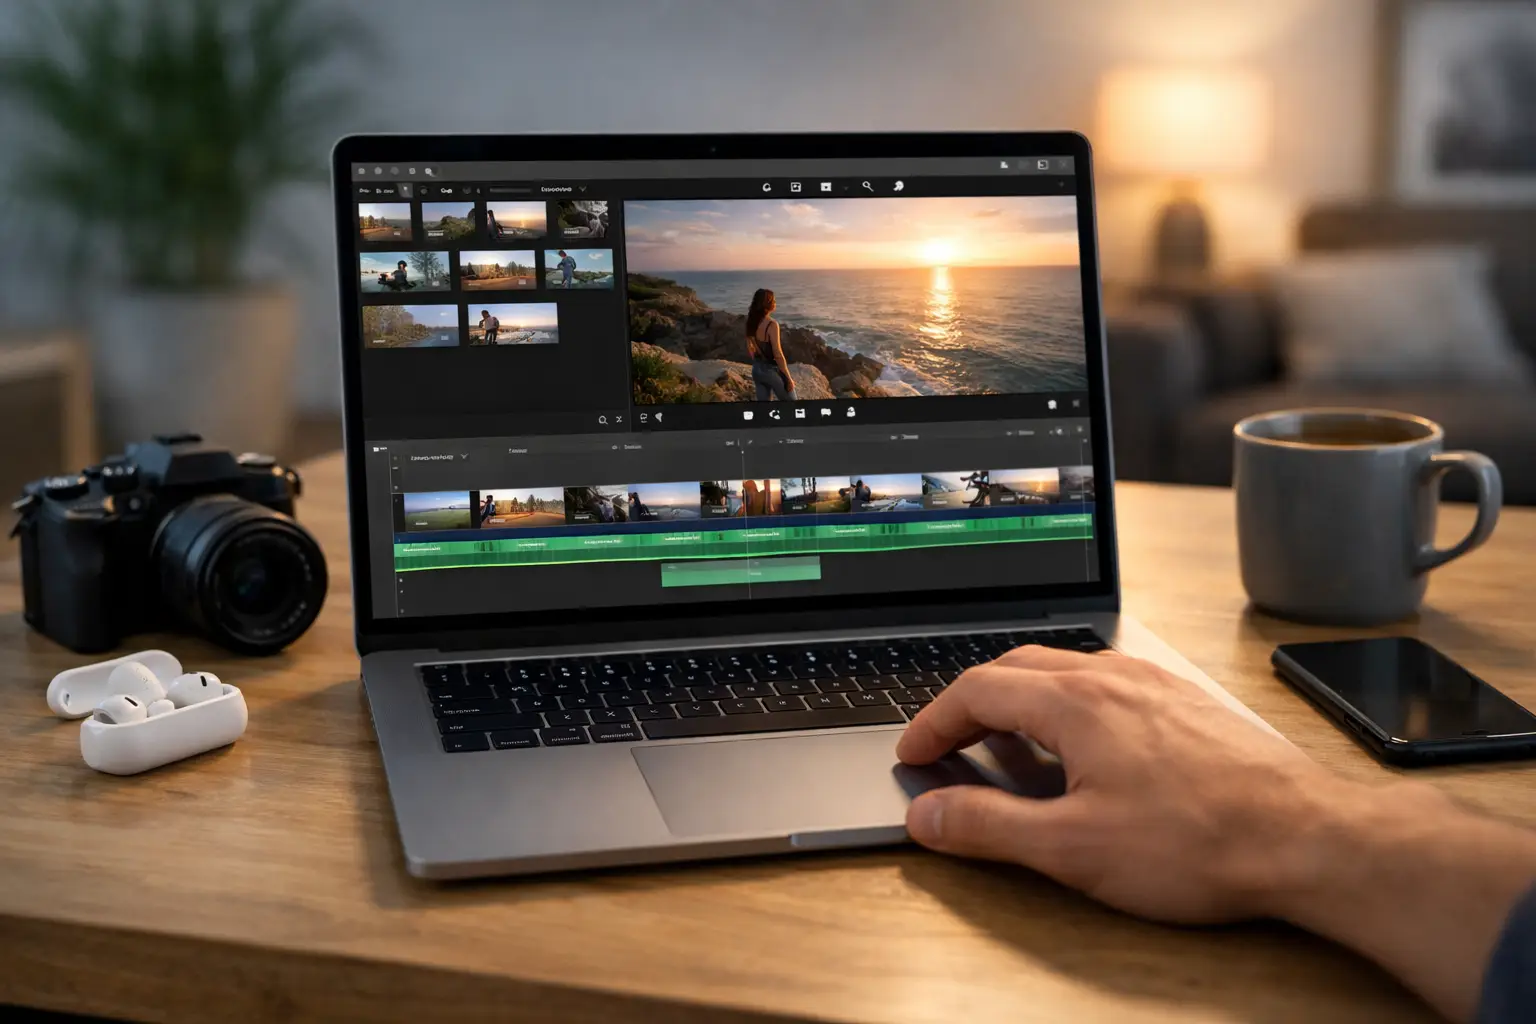
After importing your media, preview your clips in the browser at the top of the iMovie window. Instead of dragging in every clip at once, start selecting only the parts you actually need. You can skim through a clip, mark a section, and drag just that portion into the timeline.
This is one of the easiest ways to keep a project clean. If you add full clips and plan to trim them all later, your timeline gets long and messy quickly. Pull in the strongest sections first, then fine-tune them once the rough version of the movie is assembled.
As you build the timeline, think about sequence. A simple movie usually works best when it has a clear beginning, middle, and end. That could mean an opening shot, the main event, and a closing moment. Even a short family video feels more polished when the clips follow a clear progression.
Trim clips to improve pacing
Once your clips are in the timeline, trim aggressively. Most home movies improve when you remove a little more than you think you should. Pause before and after each action and ask whether that extra second adds anything.
To trim in iMovie, drag the start or end of a clip inward. If a clip still feels too long, split it and remove the section you do not need. Shorter clips usually create better momentum, especially in travel videos, event recaps, and casual social content.
Pacing depends on the kind of movie you are making. A birthday montage can move quickly. A how-to video often needs slightly slower cuts so viewers can follow the action. There is no single correct speed, but there is usually a point where a scene starts to feel repetitive. Trim until you reach the strongest version of the moment.
Reorder clips until the story feels natural
Dragging clips left or right in the timeline is simple, which makes experimentation easy. If something feels out of place, move it. Often the difference between an average movie and an effective one is not the quality of the footage but the order of the shots.
A useful approach is to lead with your clearest or most engaging shot. That gives viewers context right away. From there, keep similar moments grouped and avoid repeating nearly identical angles unless the repetition is intentional.
Add titles, transitions, and music carefully
Titles should help, not distract
iMovie includes title styles you can apply from the Titles browser. Drag a title style above a clip and replace the placeholder text with your own. For most projects, a simple opening title and maybe one or two location or name labels are enough.
The common mistake is using too many titles or choosing styles that call attention to themselves. If the title animation feels more dramatic than the video content, it can make the whole project feel less polished. Clean and readable usually wins.
Use transitions with restraint
Transitions are available in iMovie and can soften the change between clips. A dissolve can work well when you are moving between scenes or time periods. But if you place a transition between every clip, the movie often feels slower and more artificial.
Straight cuts are usually the best default. They keep the video moving and let the content do the work. Use transitions only when they improve clarity or mood.
Add background music at the right volume
Music can transform a simple movie, but it should support the video rather than compete with it. Drag a music track into the timeline below your video. Then lower the volume so it sits behind the visuals instead of overpowering them.
This matters even more if your clips include people speaking. If the music is too loud, viewers will notice the problem immediately. In iMovie, you can adjust audio levels directly on the timeline and fade music in or out for a smoother start and finish.
If your movie depends on spoken explanation, consider recording a voiceover instead of relying only on music. iMovie makes that possible, and a short narration can add structure when the visuals need more context.
Improve the movie with simple polish
Fix shaky or dark clips when possible
iMovie gives you a few helpful correction tools without making the editing process complicated. You can stabilize shaky footage, crop or straighten a shot, and make basic color or brightness adjustments.
These tools help, but they do have limits. Strong stabilization can crop the frame, and heavy correction on a poorly lit clip can introduce a flat or grainy look. The goal is improvement, not perfection. If a clip still looks weak after minor fixes, it may be better to shorten it or remove it.
Cut away to photos or extra clips
If you have a long shot that drags, break it up with a photo or a second angle. This keeps the video visually active and can hide awkward cuts. For example, if someone is talking and you need to shorten a pause, placing a related photo or detail shot over that section can make the edit feel intentional.
This technique is especially useful for family videos, presentations, and instructional projects. It helps maintain momentum without requiring advanced editing skills.
Check your movie before exporting
Before you share anything, watch the entire project from start to finish. Do not stop every few seconds to tweak small details. Watch it like a viewer would.
Pay attention to four things: pacing, audio, text, and endings. If the movie feels slow, trim more. If music covers speech, lower it. If a title disappears too fast, extend it. If the movie ends abruptly, add a short fade or hold the final shot a moment longer.
This final review catches the problems most people miss while they are focused on individual clips. A movie can look fine scene by scene but still feel uneven as a whole.
Export settings that make sense
When your movie is ready, click the Share button and choose to export the file. For most users, high quality at 1080p is the right balance of sharpness and file size. If your footage was recorded in 4K and you want the highest resolution, you can export in 4K, but that depends on your source clips and your intended use.
Bigger is not always better. If you are emailing the file, uploading quickly, or saving space, 1080p is often the smarter choice. If the movie is mostly for family viewing or casual sharing, viewers are far more likely to notice choppy editing or bad audio than the difference between 1080p and 4K.
Name the file clearly and save it somewhere easy to find. That sounds basic, but it prevents a lot of frustration later.
A few beginner mistakes to avoid
The biggest mistake is trying to use every feature in one project. iMovie can add titles, filters, music, transitions, and effects, but using all of them at once rarely improves the final result. Start simple.
Another common problem is ignoring audio. People will tolerate video that is not perfect, but they quickly lose patience with music that is too loud or speech they cannot hear clearly.
Finally, do not judge your first rough cut too harshly. Editing is a process of refinement. The first pass is for structure. The second is for timing. The third is for polish. That methodical approach is often the difference between feeling overwhelmed and feeling in control.
If you are learning how to make a movie in iMovie, remember that clarity beats complexity every time. A short, well-paced video with clean audio and thoughtful cuts will almost always feel better than a flashy project packed with effects. Start with the story you want to tell, let iMovie handle the mechanics, and give yourself permission to improve one edit at a time.
Keep watching
More free video lessons on this topic


All Access membership
Watch every iMovie for Mac lesson, plus every other tutorial
Every plan starts with a free trial. Cancel any time during the trial and you won't be charged.
Monthly
Auto recurring5-day free trial
- Every Mac, iPhone & iPad tutorial
- New tutorials as they're released
- Watch on any device
- No ads
- Email support
Yearly
Auto recurring7-day free trial · just $2.50 a month
- Every Mac, iPhone & iPad tutorial
- New tutorials as they're released
- Watch on any device
- No ads
- Email support
Lifetime
Single payment7-day free trial · pay once, keep it for good
- Everything in Yearly
- Every future macOS & iOS update tutorial
- Never pay again
Secure checkout. Log in on any Mac, iPhone or iPad with the same account.