
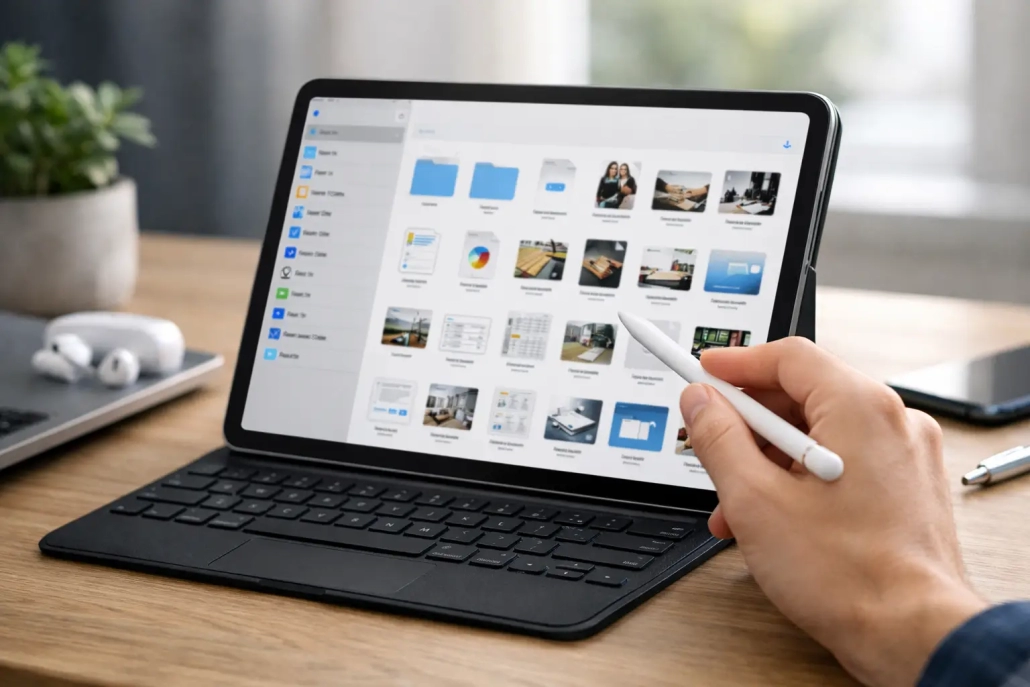
10 Files App Tips iPad Users Will Use Daily
A document arrives in Mail, a photo needs to be attached to a form, and a PDF is somewhere on your iPad. Many people handle these tasks by switching between apps and hoping they can find the right file again later. The Files app gives you one place to manage those items with much more control. These Files app tips for iPad will help you build a simple system that is easy to repeat.

Files for iOS Tutorial
1. Start with the right storage location
Open Files and tap Browse at the bottom of the screen. This is where you will see the places available on your iPad, including On My iPad, iCloud Drive, and any supported third-party services such as Dropbox, Google Drive, or OneDrive.
The most useful choice for most Apple users is iCloud Drive. Files saved there can appear on your other signed-in Apple devices, including your Mac and iPhone. That makes iCloud Drive a good home for active documents, household records, projects, and anything you may need away from your iPad.
Use On My iPad for files that should stay only on that device, such as large downloads or app-specific files. Keep in mind that these files will not automatically be available on your Mac or iPhone. Before saving a file, pause for a moment and choose its location deliberately. That one habit prevents a great deal of searching later.
2. Create folders that match real life
A long list of files is difficult to manage, even when you use Search. Create a few broad folders that reflect the way you already think about your information. For example, you might use Home, Financial, Travel, Health, Work, and Projects.
To create a folder, open the location where you want it stored, tap the More button, then choose New Folder. Give it a clear name. Avoid making too many levels of folders at first. A structure such as iCloud Drive > Home > Receipts is usually easier to maintain than a deeply nested system with many categories.
If a folder becomes crowded, add one more level only when it solves a real problem. A Travel folder, for instance, could contain separate folders for upcoming trips. The goal is not a perfect filing cabinet. The goal is being able to put something away and retrieve it without guesswork.
3. Rename files before they become confusing
Names like “Scan 1,” “IMG_4827,” and “document.pdf” offer very little help weeks later. Rename important files as soon as you save or scan them. Touch and hold the file, choose Rename, and use a name that explains what it is.
A useful format is subject first, followed by a date or detail. “Car Insurance Policy 2026” is clearer than “Insurance.” “Kitchen Receipt 2026-04-12” is easier to sort than “Receipt.” For ongoing documents, add a version only when you truly need one, such as “Volunteer Schedule v2.”
Consistent names also make Search more effective. The Files app can search inside many document types, but descriptive file names are still the fastest way to recognize the correct result.
4. Use tags for files that belong in more than one place
Folders answer the question, “Where does this file live?” Tags answer a different question: “What is this file related to?” This is helpful when one item fits several categories.
For example, a PDF estimate for a kitchen repair may belong in your Home folder, but you could tag it Important, To Review, or Taxes if it applies. Touch and hold a file, select Tags, then choose an existing tag or create a new one. You can later tap a tag in the Browse sidebar to view matching files from different folders.
Keep your tag system small. A handful of practical tags such as Important, Waiting, Receipts, and Reference is more useful than creating a separate tag for every project. Tags work best as an extra layer of organization, not a replacement for folders.
5. Save attachments directly from Mail and Messages
One of the most practical Files app tips for iPad is to save important attachments immediately rather than leaving them buried in an email or message thread. When you receive a PDF, spreadsheet, image, or other attachment, tap it to open the preview. Then tap the Share button and choose Save to Files.
Choose the folder, rename the item if necessary, and tap Save. You now have a copy you can find without reopening the original message. This is especially useful for travel confirmations, event tickets, manuals, signed forms, and invoices.
When you need to send a saved item, the process works in reverse. In Mail, Messages, or another app, look for the attachment option and select the file from Files. You do not need to create duplicate copies just to share the same document again.
6. Scan paper documents into a folder
Your iPad can turn paper into a PDF without a separate scanning app. In Files, open the folder where you want the scan to be stored. Tap the More button and choose Scan Documents. Place the page on a flat surface with good lighting, and the iPad will usually detect the edges automatically.
You can scan multiple pages into one PDF, review the pages, and save the result directly in the current folder. This is an excellent method for receipts, letters, appliance instructions, medical paperwork, and forms you want to keep accessible.
For the best results, scan into the folder where the document belongs, then rename it right away. A file named “Warranty – Coffee Maker – 2026” will be much easier to use than a stack of unnamed scans.
7. Change your view and sort order when you need it
Files does not have to look the same for every task. Use icon view when visual previews help, such as when you are selecting images, PDFs, or design files. Switch to list view when names, dates, sizes, and file types matter more.
Tap the More button to access sorting options. Sorting by name is useful for an organized folder, while sorting by date helps you locate something you recently downloaded or edited. Sorting by size can help identify large files when your storage is getting tight.
You can also group files by kind or date. These tools are not permanent commitments. Adjust the view to match the task in front of you, then change it again when your needs change.
8. Move files instead of making unnecessary copies
Copies can be useful before you edit an important original, but they quickly create confusion when used as a filing method. To relocate a file, touch and hold it, select Move, choose the destination folder, and tap Move again.
You can move several items at once by tapping the More button, choosing Select, selecting the files, and then tapping the folder icon. This is particularly helpful after downloading several attachments or scanning a group of documents.
Use Duplicate only when you need a separate version. For example, duplicate a blank form before filling it out, or make a copy of a photo before editing it for a project. In most other cases, moving the original to its correct folder keeps your storage cleaner.
9. Use Search, but search with a purpose
When you cannot remember where something was saved, pull down in Files to reveal the search field. Enter a word from the filename, the document title, or a recognizable phrase. You can narrow the results by location, kind, date, or tags.
Search is particularly valuable if you have adopted clear names and a few consistent tags. Try searching for “receipt,” “passport,” or “insurance” rather than scrolling through every folder. If a result appears often, consider moving it into a more obvious folder or adding a useful tag once you are finished.
10. Turn on the locations you actually use
If you use a cloud storage service, it may not appear in Files until you enable it. In the Browse sidebar, tap the More button, then choose Edit. Turn on the available locations you want to see and reorder them if needed.
This brings files from different services into one familiar interface. There is a trade-off, though: a document stored in Dropbox is still stored in Dropbox, not automatically copied to iCloud Drive. Check the location before moving or saving a file so you know where it will be available.
A few minutes spent setting up folders, names, tags, and favorite locations can make the Files app feel far less intimidating. Start with the documents you use this week, and let your system grow from there.


