What Are Photo Bursts on iPhone and Why You Should Use Them
What Are Photo Bursts on iPhone? A Quick Answer Before We Dive In
What are photo bursts on iPhone is one of those questions that comes up the moment you accidentally hold the shutter button too long – and suddenly have 47 nearly identical photos to deal with.
Here’s the short answer:
Photo Burst Mode on iPhone is a camera feature that captures 10 full-resolution photos per second as long as you hold the shutter button down. It’s designed to help you catch the perfect moment when things are moving fast.
Key facts at a glance:
- What it does: Takes a rapid sequence of photos in one continuous burst
- How fast: 10 frames per second
- How to start: Swipe the shutter button left (newer iPhones) or hold it down (older models)
- How to stop: Lift your finger
- Where photos go: Grouped together in your Photos app under the Bursts album
- Best used for: Action shots, group photos, kids, pets, sports – any moment that’s hard to time perfectly
It’s not the same as Live Photos (more on that later), and it’s much more useful than most people realize.
I’m Drew Swanson, founder of TheMacU.com and an Apple educator who has spent years helping users of all skill levels unlock features just like this – including what are photo bursts on iPhone and how to use them without filling up your storage. Let’s walk through everything you need to know.

What Are Photo Bursts on iPhone and How Do They Work?
At its core, Burst Mode is a high-speed sequence tool built directly into your iPhone’s Camera app. While a standard tap of the shutter button captures a single frame, Burst Mode engages a “continuous shooting” state. This isn’t just a low-quality video snippet; your iPhone is actually firing off 10 full-resolution images every single second.

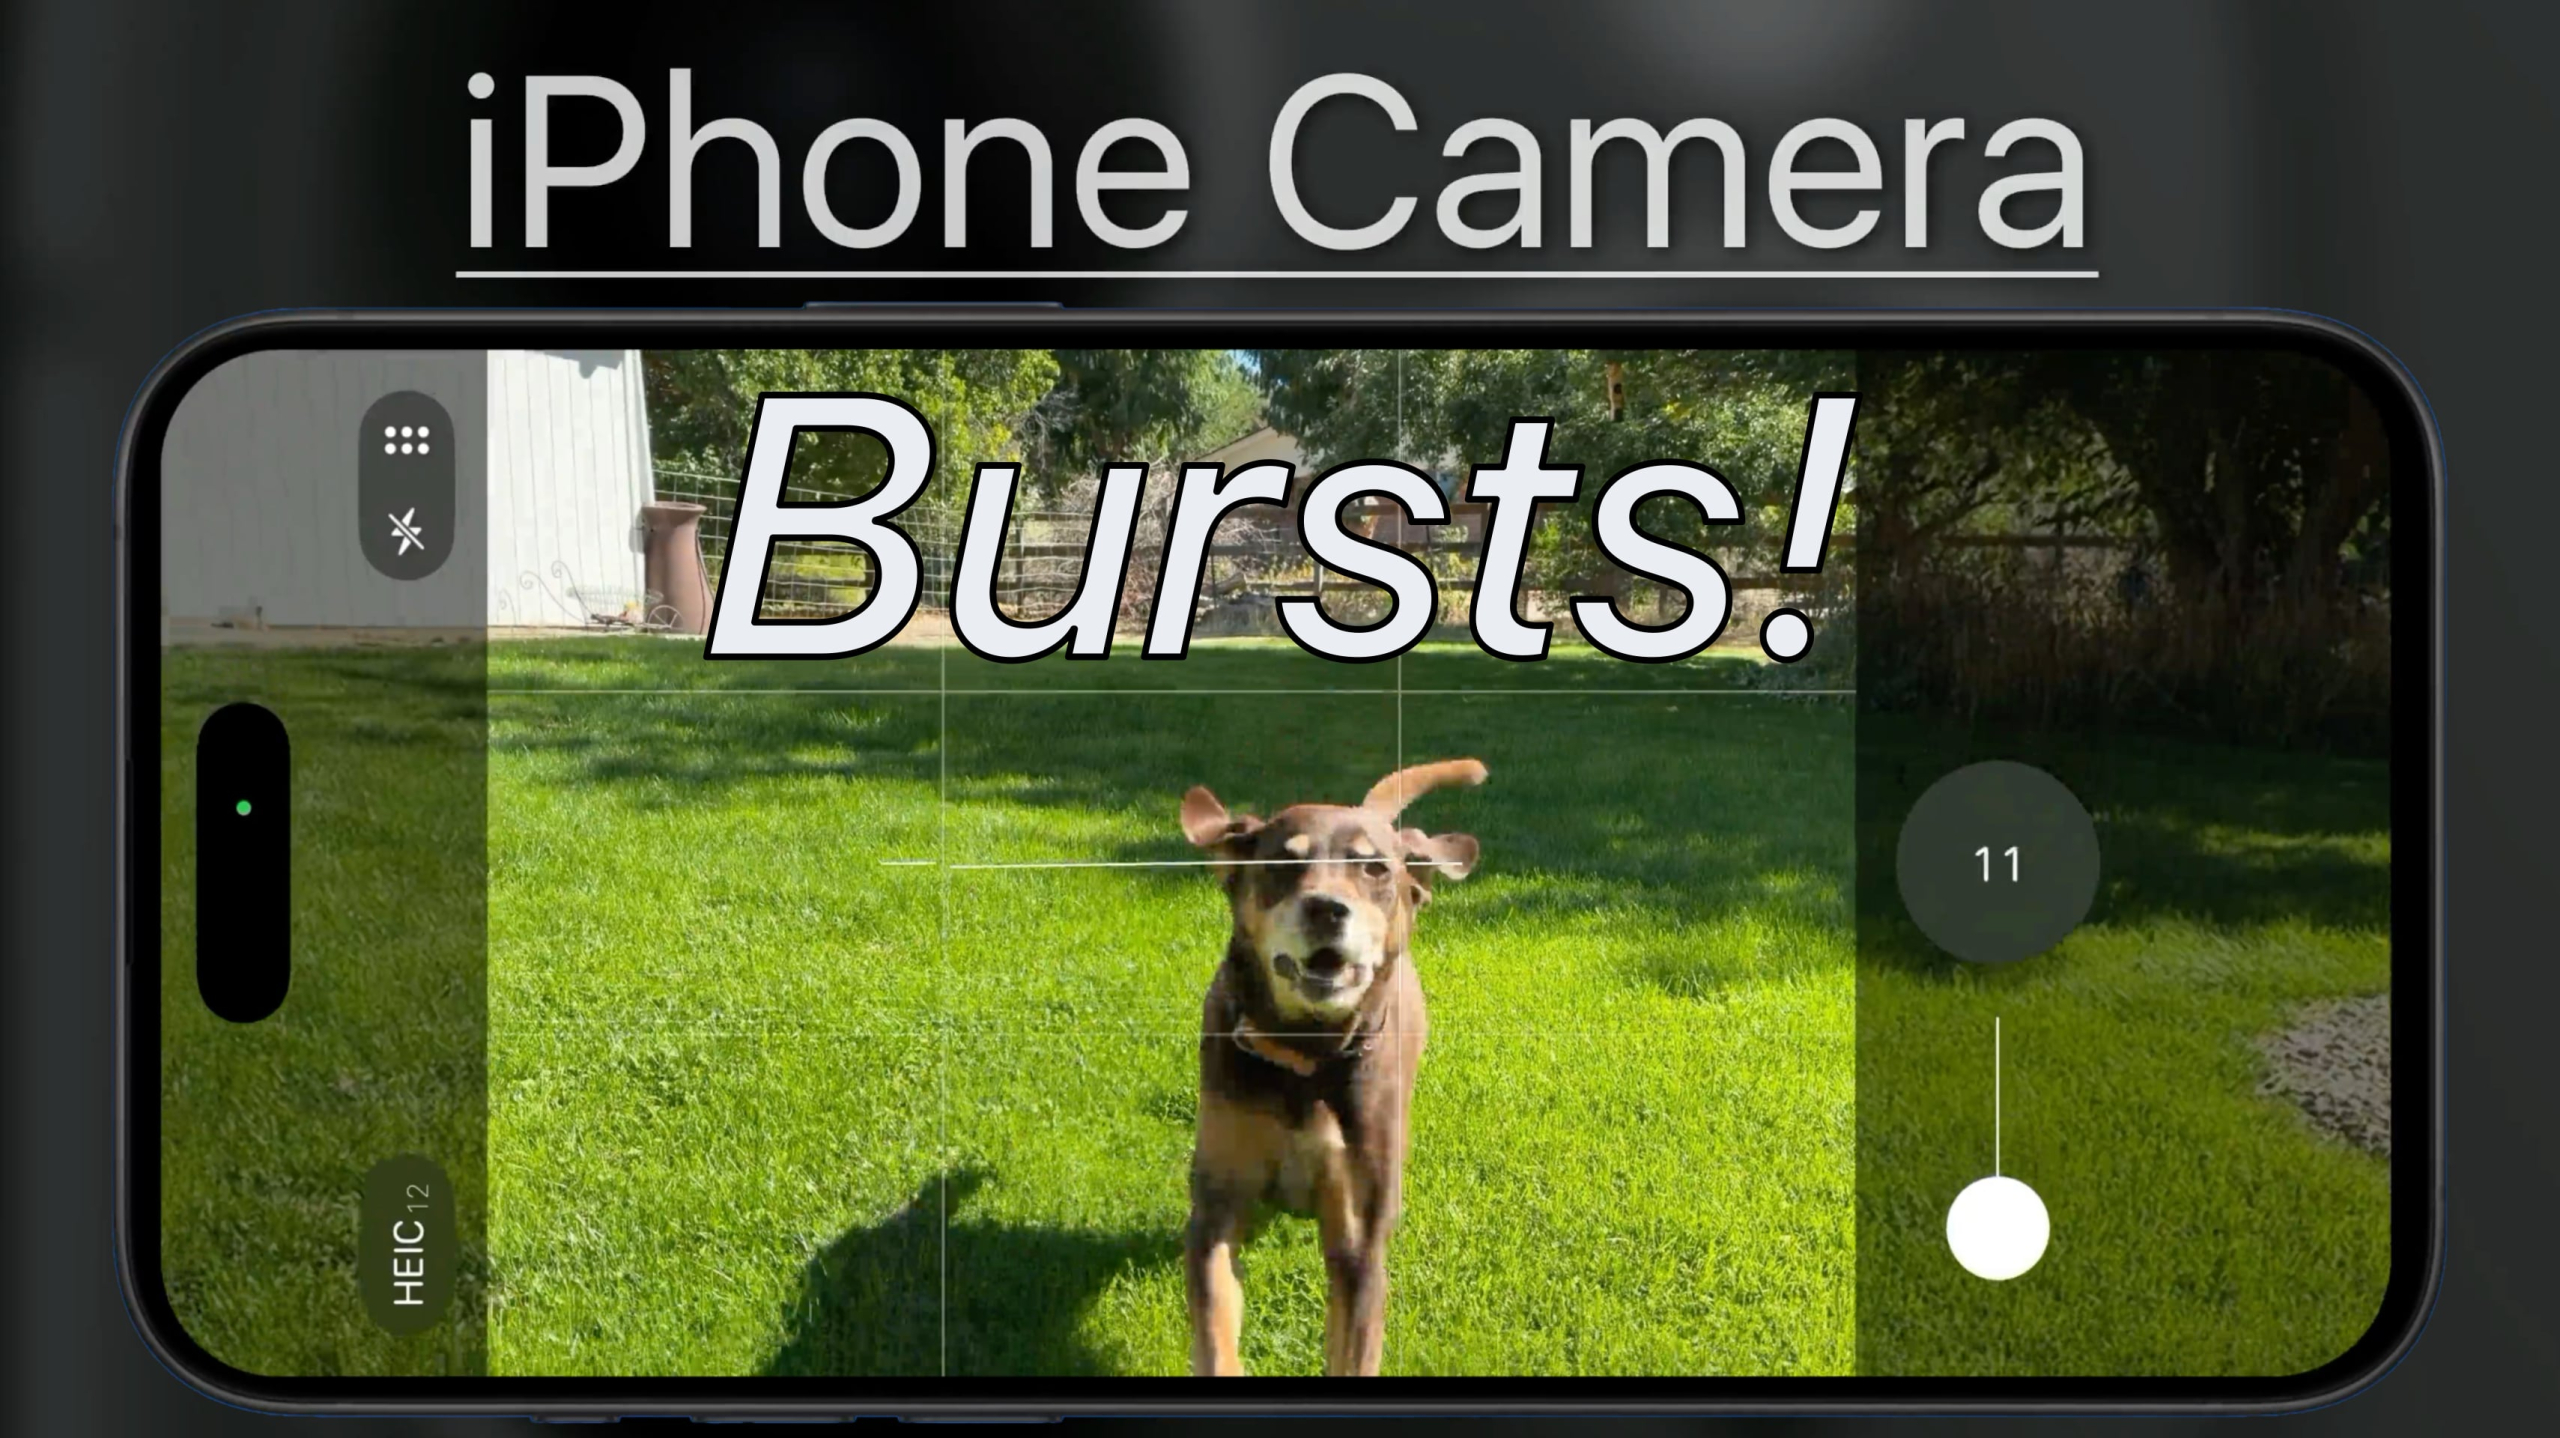
When you activate a burst, you’ll see a counter appear at the bottom of the screen (or inside the shutter button, depending on your model) that ticks up rapidly. This tells you exactly how many frames you’ve captured in that specific set.
The magic happens behind the scenes. Your iPhone’s hardware processing and buffer management work overtime to ensure each of those 10 frames is processed with high fidelity. This is why Capture action shots with Burst mode on your iPhone camera is such a game-changer for moving subjects—it allows the device to stay ahead of the action, ensuring you don’t miss the peak moment because of “shutter lag.”
Activating What Are Photo Bursts on iPhone Across Different Models
Apple updated the way we trigger Burst Mode a few years ago, which led to some confusion. If you’ve upgraded your phone recently, you might have noticed that holding the shutter button now starts a video (QuickTake) instead of a burst. Here is how to navigate the interface changes:
- iPhone XS, iPhone XR, and newer models (including iPhone 11 through iPhone 16): To take a burst, you must tap the shutter button and immediately slide it to the left (in portrait orientation) or down (in landscape). Hold it there to keep shooting, and lift your finger to stop.
- iPhone X and Older Models: On these legacy devices, the process is simpler: just press and hold the shutter button. The haptic feedback will give you a subtle “pulse” as the photos rack up.
If you find the “slide-to-the-left” gesture a bit finicky, don’t worry—we have a tactile alternative that many pro photographers prefer. You can see a full breakdown of these gestures in our Bursts iPhone Camera Tutorial.
Using the Volume Up Button for Bursts
For those who want a more traditional “camera feel,” you can use the physical buttons on the side of your iPhone. By default, the Volume Up button might just take a single photo or start a video. To change this:
- Open Settings.
- Scroll down to Camera.
- Toggle on Use Volume Up for Burst.
Now, when you are in the Camera app, you can simply squeeze and hold the Volume Up button to fire off a high-speed sequence. This is incredibly helpful for cold weather shooting when you’re wearing gloves, or when the phone is mounted on a tripod and you want to minimize screen shake.
Learn much more in our full iPhone Camera Video Tutorial!
Burst Mode vs. Live Photos: Which Should You Choose?
Many users ask us, “Why use Burst Mode when I already have Live Photos turned on?” While they seem similar, they serve very different purposes. A Live Photo is essentially a 3-second mini-movie (1.5 seconds before and after you hit the shutter). While you can change the “Key Photo” in a Live Photo, there is a major catch: the alternate frames are often lower quality and suffer from cropping issues.
| Feature | Burst Mode | Live Photos |
|---|---|---|
| Frame Rate | 10 frames per second | 15–30 fps (video-based) |
| Image Quality | Full resolution on every frame | High quality only on “Key Photo” |
| Best Use | Action, sports, blinking prevention | Memories, subtle movement, “Long Exposure” effect |
| Storage Impact | High (if you keep all frames) | Moderate |
| Manual Selection | You pick the best still | AI picks the best frame by default |
If you are shooting a high-stakes moment—like a child jumping into a pool or a sports play—what are photo bursts on iphone is the superior choice because every single frame is a high-resolution still image.
Best Practices for Capturing Perfect Moments
To get the most out of Burst Mode, we recommend going beyond just holding the button. You need to think like a photographer.
- Predict the Movement: Don’t wait for the action to start. If you see a runner approaching or a bird about to take flight, start the burst a second early. It’s easier to delete extra frames than to wish you had started sooner.
- Composition and Negative Space: Use the Composition Grid (Settings > Camera > Grid). If your subject is moving from right to left, leave “negative space” on the left side of the frame so they have room to “move into” the shot.
- Keep it in Focus: Tap on your subject’s face on the screen before starting the burst. This locks the focus so the iPhone doesn’t try to refocus mid-sequence.
When to Use What Are Photo Bursts on iPhone
We’ve found that Burst Mode is the “secret sauce” for several tricky scenarios:
- Group Photos: This is the ultimate “blink-prevention” tool. Take a 20-frame burst, and you are almost guaranteed to find one where everyone has their eyes open and is actually looking at the lens.
- Candid Interactions: Capture the subtle hug between a mother and daughter or the split-second “matching expressions” between a pet and its owner.
- Splashing Water and Nature: Whether it’s a waterfall or a bird in flight, the 10 fps speed allows you to “freeze” the water droplets or wing positions perfectly.
- Windy Conditions: If you’re taking a portrait and the wind is blowing hair or clothes around, a burst helps you find the one frame where everything looks intentional rather than messy.
Note: In low-light conditions, Burst Mode can sometimes result in blurry photos. This is because the camera’s aperture has to stay open longer to let in light, but the high-speed nature of bursts forces a faster shutter speed. For the best results, stick to well-lit environments.
Advanced Tips: Timers and Remote Triggers
Did you know you can use Burst Mode even when you aren’t holding the phone?
- The Countdown Timer: Set the timer (3s or 10s) in the Camera app. When the timer hits zero, the iPhone will automatically take a 10-photo burst. This is perfect for self-included group shots.
- Apple Watch Remote: You can trigger a burst from your wrist. Pro tip: Disable Live Photos on your iPhone first, as the Apple Watch remote often defaults to a single shot if Live Photos are active.
- Stability: If you don’t have a tripod, prop your iPhone on a window ledge or a stable surface. This ensures that the only movement in the photo is your subject, not the camera.
Managing Your Library: Selecting and Deleting Bursts
One of the biggest fears people have with what are photo bursts on iphone is that they will run out of storage. If you take a 50-photo burst and keep them all, that’s 50 high-res files eating up space. Fortunately, iOS makes it easy to clean up.
- Open the Photos app and go to the Albums tab.
- Scroll down to Media Types and tap Bursts.
- Tap the burst you want to review, then tap Select at the bottom.
- Swipe through the photos. Look for the gray dots—these are the frames the iPhone’s AI suggests are the sharpest or have the best expressions.
- Tap the circle in the bottom-right corner of the photos you want to keep.
- Tap Done.
- Crucial Step: Choose “Keep Only Favorites.” This will save the photos you selected as individual images in your library and move the other dozens of “rejects” to the Recently Deleted folder.
If you are managing your library from a computer, you can also View photo bursts in Photos on Mac. The process is similar: double-click the burst, click “Make a Selection,” and choose what to keep. Remember to empty your Recently Deleted folder if you need to reclaim that storage space immediately!
Frequently Asked Questions about iPhone Photo Bursts
Why are my burst photos blurry?
Blurriness usually comes down to lighting conditions. In dark rooms, the iPhone tries to use a slower shutter speed to gather light. Since Burst Mode requires a fast shutter speed to hit that 10 fps mark, the “exposure” might be off, or the sensor might not have enough light to freeze the motion. To fix this, move to a brighter area or use a tripod to eliminate “camera shake.”
Do burst photos take up more storage?
Initially, yes. A burst of 100 photos is essentially 100 separate image files. However, iOS is smart; it “stacks” them so they only look like one photo in your main library. To prevent “storage bloatware,” we recommend a manual cleanup after every photoshoot using the “Keep Only Favorites” method mentioned above.
Can I turn off Burst Mode entirely?
There isn’t a single “Off” switch for Burst Mode because it’s a core gesture of the camera. However, you can prevent accidental bursts by being mindful of the shutter button. If you find yourself accidentally triggering bursts with the side buttons, go to Settings > Camera and turn off “Use Volume Up for Burst.”
Conclusion
Mastering what are photo bursts on iphone is one of the fastest ways to elevate your photography from “standard snapshots” to professional-looking action shots. By understanding the 10 fps technology and learning how to manage your storage, you can stop worrying about timing the shutter perfectly and start focusing on the composition of your shots.
At TheMacU.com, we believe that technology should work for you, not frustrate you. If you found this guide helpful, we invite you to Learn more with our Photography Tutorials. Our professionally scripted video lessons offer hands-on guidance on everything from basic camera settings to advanced editing workflows for Mac and iOS. Whether you’re a beginner trying to organize your first Bursts album or a hobbyist looking to master the latest iPhone 15 Pro and iPhone 16 Pro features, we have the resources to help you succeed. Happy shooting!


