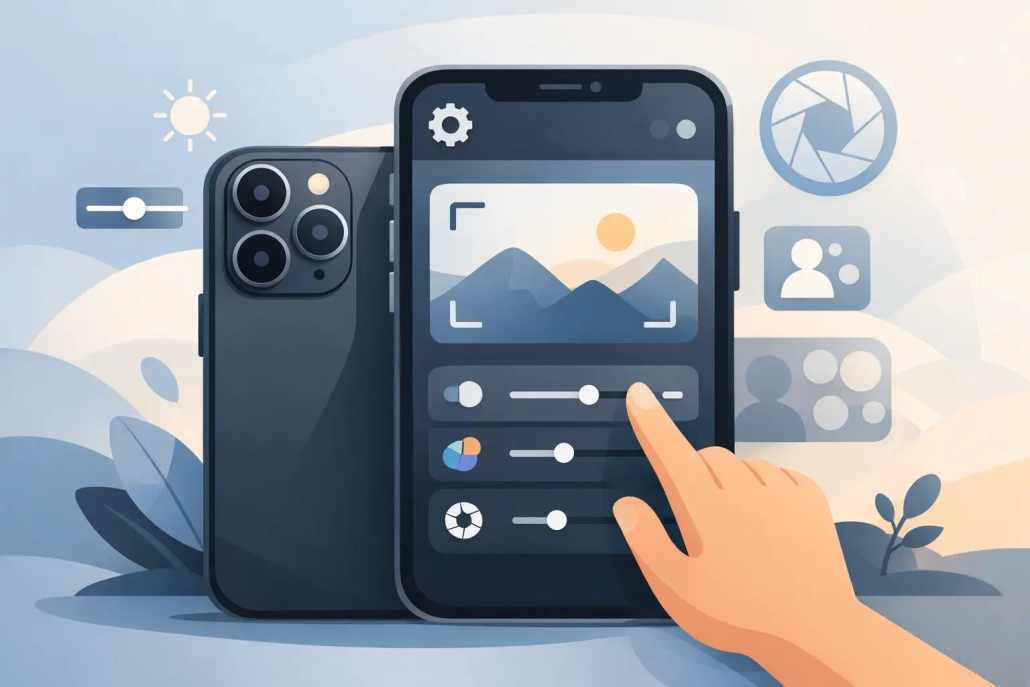
Best iPhone Camera Settings to Use
A lot of disappointing iPhone photos come down to one problem: the camera is capable, but the default setup is not always the best setup for the way you shoot. If you want the best iPhone camera settings, the goal is not to turn on every option. It is to choose the settings that improve quality, reduce mistakes, and make the camera easier to use when the moment is moving fast.
The good news is that most of the important choices live in just a few areas of the Settings app and the Camera app. Once you adjust them, your iPhone becomes much more predictable. That matters whether you are photographing family, recording a quick video, capturing travel memories, or trying to get cleaner shots in low light.
Best iPhone camera settings for most people
For everyday use, the best results usually come from a balanced setup. You want strong image quality, but you also want photos and videos that are easy to store, share, and edit. In most cases, that means turning on the settings that preserve detail and consistency while avoiding the ones that create unnecessary file sizes or extra complexity.
Start in Settings > Camera. If your iPhone supports it, turning on Grid is one of the easiest improvements you can make. It helps you straighten horizons, center subjects, and compose shots more carefully without needing any photography background. It is simple, but it works.
Next, look for Lens Correction. This helps reduce distortion from the front camera and ultra wide camera. For casual shooting, it is usually worth leaving on because faces and edges tend to look more natural. If you prefer a more dramatic ultra wide look, you may choose differently, but most users will get more reliable results with correction enabled.
View Outside the Frame is more of a preference setting. Some people like the extra context around the shot while composing. Others find it distracting. If you want a cleaner viewfinder, leave it off. If you want more awareness of what is just beyond the frame, keep it on.
Photo settings that improve quality
The most important photo choice on newer iPhones is often the format. Under Formats, you may see options such as High Efficiency, Most Compatible, ProRAW, or resolution controls depending on your model.
For most users, High Efficiency is the better everyday choice. It saves space while still delivering strong quality. Most Compatible is useful if you regularly move files to older devices or apps that do not handle newer formats well. If you rarely run into compatibility problems, High Efficiency is the more practical option.
If your iPhone supports ProRAW, it can capture more editing information, which is helpful for photographers who plan to adjust exposure, color, highlights, and shadows later. The trade-off is large file sizes. ProRAW is not the best everyday setting for most people. It is better used intentionally, such as for landscape shots, portraits in tricky light, or images you know you want to edit carefully.
Resolution matters too. Some newer iPhones let you shoot at 24MP or 48MP. Higher resolution can preserve more detail, especially in bright light, but it also uses more storage. For everyday photos, 24MP often gives a very good balance of detail and file size. If you are shooting something you may crop heavily or print larger, 48MP can be worthwhile.
Photographic Styles are also worth mentioning. These are not filters in the usual sense. They influence tone and warmth while trying to preserve natural elements like skin tones. If your photos often look too cool or too flat to you, a style like Rich Contrast or a slightly warmer tone may help. The best approach is to make subtle adjustments. Strong style settings can make a whole photo library feel inconsistent over time.
Best iPhone camera settings for video
Video settings depend more heavily on what you plan to do with the footage. If you want the best iPhone camera settings for daily video, 4K at 30 fps is a strong default on most newer models. It gives you sharp footage without the very large files of higher frame rates.
If you record kids, pets, sports, or any fast action, 4K at 60 fps can look smoother. The trade-off is more storage use and sometimes less flexibility in lower light. If you mostly film indoors or in the evening, 30 fps is often the safer choice.
For purely casual clips that you send by text or keep for reference, 1080p is still perfectly usable. Not every video needs to be captured at the highest quality. The best setting is the one that matches the importance of the moment and the storage space you actually have.
If you see Enhanced Stabilization or Action mode options on your iPhone, use them selectively. They are useful when you are walking or moving, but they can crop the frame and may reduce performance in lower light. For a steady handheld clip while standing still, standard video often looks better.
Stereo sound is usually worth enabling if your iPhone offers it. Audio quality affects how polished your video feels, and this is an easy improvement with little downside.
Settings that make shooting faster and more reliable
Some of the best camera settings are not about image quality. They are about reducing hesitation.
Under Preserve Settings, consider keeping Camera Mode on if you frequently switch to Video, Portrait, or another mode and want the iPhone to remember it. This can save time, but it can also confuse you if you forget the camera is opening in the last-used mode. If you prefer consistency, leave it off so the app opens in Photo each time.
Preserve Creative Controls can be helpful if you regularly use a Photographic Style, aspect ratio, or exposure adjustment and want those choices to stay in place. Again, this depends on whether you value speed or a clean reset every time.
Prioritize Faster Shooting is another setting many people overlook. It can help the camera respond more quickly when you take several shots in a row, but there may be a slight trade-off in image processing quality in some situations. If you often photograph movement, it is worth turning on. If you mostly shoot still scenes and want the iPhone focused on best possible processing, you may prefer to leave it off.
When to use Live Photos, Night mode, and flash
Live Photos can be excellent for family moments, pets, and any scene where timing is hard to predict. You get a bit of motion and sound, and you can choose a better frame later. The downside is extra storage and sometimes more clutter in your library. Many users benefit from leaving Live Photos on for daily life, then turning it off for deliberate photography.
Night mode is generally best left to the iPhone to manage automatically. It often produces better low-light images than forcing a quick dark shot. That said, longer Night mode exposures work best when the phone is steady. If the subject is moving, a shorter exposure may actually give you a better result, even if the image is slightly darker.
Flash is where restraint helps. If a scene is very dark and your subject is close, flash can rescue the shot. But it also tends to flatten faces, create harsh highlights, and make backgrounds disappear. In many indoor situations, available light or Night mode gives a more natural result.
A simple setup for most users
If you want a practical starting point, here is a sensible setup: turn on Grid and Lens Correction, use High Efficiency format, shoot photos at the default high-quality resolution your iPhone recommends, record video in 4K at 30 fps, and use ProRAW or 48MP only when you have a clear reason. Keep Night mode available, use flash sparingly, and decide whether Live Photos match the way you organize your library.
That setup works well because it avoids two common mistakes. The first is leaving every default unchanged and missing useful tools. The second is enabling every advanced option and making the camera harder to manage.
The best iPhone camera settings depend on how you shoot
There is no single perfect setup for every iPhone owner. Someone recording home videos, someone scanning documents, and someone editing travel photos later will not need the same settings. The best iPhone camera settings are the ones that remove friction and give you consistent results in your real-world use.
A good way to refine your setup is to change one setting at a time and test it for a few days. Take a few indoor photos, a few outdoor shots, and a short video clip. Then look at the results in Photos, not just in the moment. That makes it much easier to tell whether a setting is helping.
If Apple’s camera options have ever felt scattered or unclear, that is normal. What helps is a methodical approach: adjust the settings that affect quality first, then the ones that affect speed, and finally the ones that come down to personal preference. Once the camera is configured around your habits, it starts feeling less like a menu of options and more like a tool you can trust.
The best camera is the one you are ready to use quickly, with settings that support the shot instead of getting in the way.


